Regarding radon, you’ve probably heard that sealing your concrete floors can help reduce how much seeps into your home. But does sealing concrete really work for radon mitigation?
Radon is a naturally occurring radioactive gas that can seep into your home through cracks and gaps in your foundation. It’s odorless, colorless, and tasteless, making it easier to detect with specialized equipment.
Sealing your concrete can help reduce radon entering your home. By sealing cracks and coating the basement floor, you can prevent radon from entering your house.
We’ll explore the process of sealing concrete for radon mitigation and answer some common questions about the effectiveness of this method.
How Do You Seal Concrete for Radon? Steps to Follow

To seal concrete for radon, you need to follow four key steps.
- Step 1: Repair the Crack and Joint
- Step 2: Prepare the Surface
- Step 3: Deep Penetrating Sealer Application
- Step 4: Non-Breathable Coating Application
Let’s get into the details.
Step 1: Repair the Crack and Joint
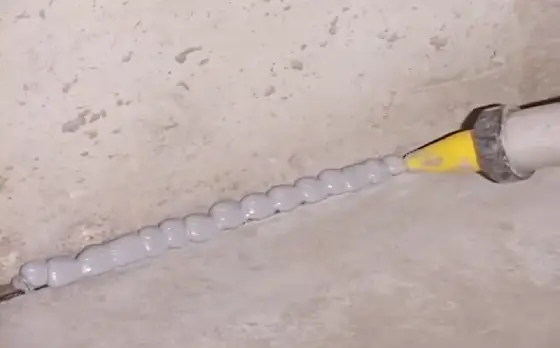
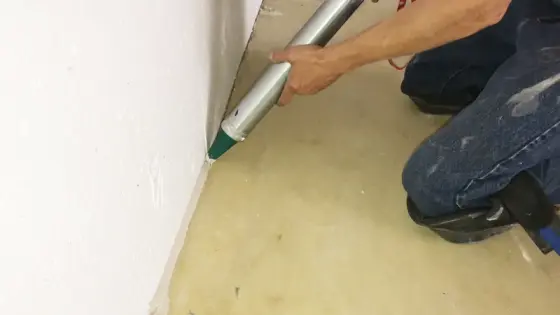
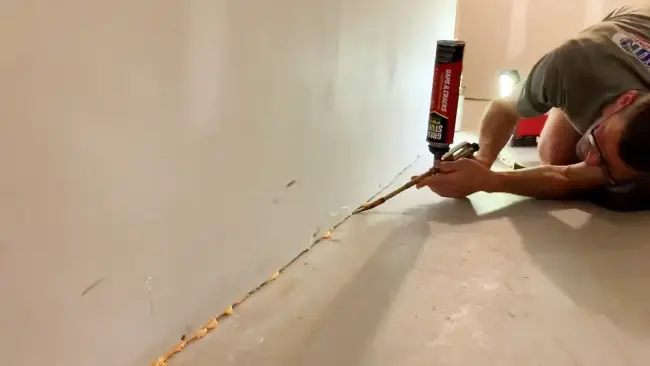
Repairing cracks and joints in the concrete floor with a suitable filler or epoxy compound is essential to reduce the potential entry points for radon gas. This is the first step in sealing the concrete for radon.
The crack or joint should be cleaned thoroughly before filling it to ensure that no debris is left behind that may interfere with the adhesion of the filler or epoxy compound.
For larger cracks or gaps, use a backer rod to provide a foundation for the filler or epoxy to adhere to. This will also help prevent future cracking or separation.
The filler or epoxy compound should be applied according to the manufacturer’s instructions, using a putty knife or similar tool to ensure even application and proper filling of the crack or joint.
Once the filler or epoxy has been applied, it should be allowed to cure completely before continuing with the sealing process.
Take care not to overfill the crack or joint, as excess material can be difficult to remove and may interfere with the effectiveness of the seal.
Step 2: Prepare the Surface
Next, you’ll need to ensure the concrete’s surface is clean and free of debris before moving on to the sealing process.
This is an important step because any remaining contaminants can prevent the sealant from properly adhering to the concrete surface, which could reduce its effectiveness in preventing radon gas from entering your home.
Sweep the surface to remove any loose debris. Use a concrete cleaner or degreaser to remove any adhesives or contaminants. Scrub the floor with a stiff brush to ensure a deep clean. Then, rinse the surface with water and allow it to dry completely before proceeding.
Step 3: Deep Penetrating Sealer Application
Now, it’s time for you to take action and protect your family’s health by applying a deep penetrating sealer specifically designed for radon mitigation.
This process will not only reduce the level of radon in your home but also provide peace of mind knowing that you’re doing everything possible to ensure the safety of your loved ones.
Follow the manufacturer’s instructions carefully when applying the sealer. This typically involves saturating the surface with the sealer using a brush or roller, ensuring that every crevice and corner is covered.
Allow the sealer to penetrate the concrete and dry completely. This may take several hours or even days, depending on your home’s specific product and conditions.
Step 4: Non-Breathable Coating Application
To enhance radon mitigation, apply a non-breathable coating on top of the deep penetrating sealer, ensuring even coverage across the entire basement floor using a roller or brush and allowing the epoxy to fully cure. This additional step can help further to reduce the levels of radon gas in your home.
The non-breathable coating creates a barrier between the concrete floor and the air, preventing radon gas from seeping through any cracks or gaps.
When applying the non-breathable coating, following the manufacturer’s instructions is important.
Mix the epoxy coating as directed and apply it evenly across the entire basement floor. After the epoxy is applied, let it cure for the recommended time.
How often should you reseal the basement floor for radon mitigation?

Maintaining the effectiveness of your radon mitigation system involves periodically inspecting and resealing the basement floor every 1-3 years.
This time frame allows you to monitor the condition of the sealers and identify any signs of degradation or damage.
Factors such as the type of sealer used, wear and tear, and environmental conditions can affect how often you need to reseal the floor. It’s important to note that these timeframes are approximate and may vary based on individual circumstances.
For example, if you notice any cracks or gaps in the sealers or if your basement experiences high levels of moisture or foot traffic, you may need to reseal the floor more frequently.
Will sealing the basement floor make it completely waterproof?
Sealing the basement floor can certainly help reduce water penetration damage, but it may not make the floor completely waterproof.
Several factors, such as the condition of the concrete, the quality of the sealers, and existing cracks or structural issues, can affect the effectiveness of the sealing process.
While sealers create a barrier that can resist moisture to a certain extent, they are not designed to endure prolonged exposure to excessive water or flooding.
It is, therefore, essential to remember that while sealing can help prevent some water damage, it does not guarantee complete waterproofing.
Seal Concrete Surfaces and Protect Your Family From Radon
You now know sealing concrete reduces radon. While sealing can help prevent radon from seeping through the pores in the concrete, it’s not a foolproof solution.
Radon can still enter your home through cracks in the foundation, gaps around pipes and drains, and even though the soil.
you need to take a multi-faceted approach to truly mitigate radon. This may include sealing the concrete, installing a radon mitigation system, and ensuring proper ventilation throughout your home.
By taking these steps, you can reduce your risk of exposure to this dangerous gas and protect your family’s health. Remember to regularly test your home for radon levels and take action if levels are high.
