You might be wondering if it’s possible to use grout sealer on concrete. After all, grout sealer is typically used to protect and seal the grout between tiles, while concrete is a completely different material. However, you can use grout sealer on concrete, and it can actually be quite beneficial.
Concrete is known for being strong and long-lasting, but did you know it’s also porous and prone to absorbing liquids and stains? This can lead to damage and discoloration over time. But using a grout sealer can protect your concrete and extend its lifespan.
This protective layer also helps prevent mold and mildew growth, which can cause unsightly stains on your concrete. Today, we’ll explain how to use grout sealer on concrete, why it’s important, and answer some common questions you might have about the process. So, let’s get started!
How to Use Grout Sealer on Concrete: Step-by-Step Guide
To use grout sealer on concrete, follow a step-by-step guide to ensure proper application:
- Step 1: Gather the Necessary Materials
- Step 2: Prepare the Area
- Step 3: Test the Grout’s Sealing Requirement
- Step 4: Select the Appropriate Grout Sealer
- Step 5: Read and Follow the Manufacturer’s Instructions
- Step 6: Apply the Grout Sealer on the Concrete
- Step 7: Allow the Sealer to Penetrate
- Step 8: Wipe Off Excess Sealer
- Step 9: Let the Sealer Fully Cure
- Step 10: Apply the Second Coat (if necessary)
Let’s check these steps in-detail:
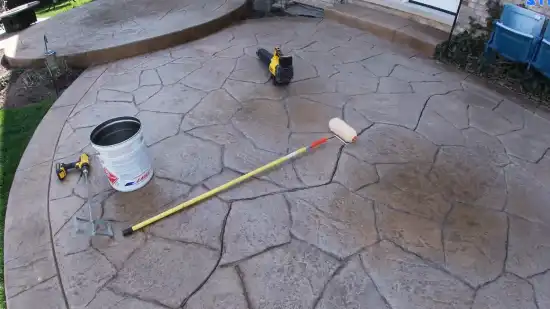
Step 1: Gather the Necessary Materials
You must have the right tools and equipment to seal grout on a concrete surface properly. Here’s a table outlining the materials you’ll need and their purposes:
| Material | Purpose |
| Grout sealer | Seals and protects the grout from moisture and stains |
| Applicator brush or roller | Applies the sealer evenly onto the grout |
| Clean cloth or sponge | Removes any excess sealer and cleans up spills |
| Protective gloves and goggles (if required) | Protects your hands and eyes from chemical exposure |
| Clean water for rinsing | Rinses off any excess sealer |
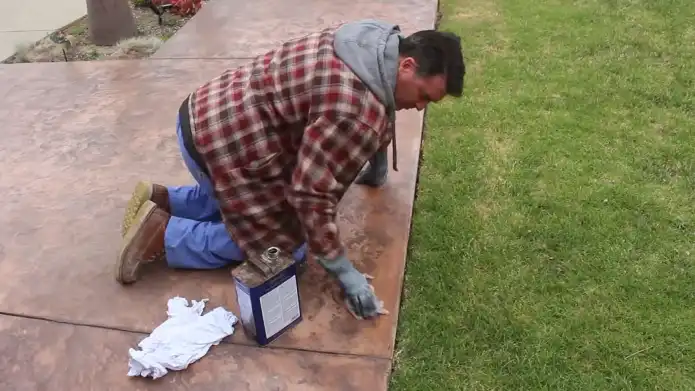
Step 2: Prepare the Area
Before diving into sealing your grout, make sure you’ve prepared the area by thoroughly cleaning your concrete surface to ensure the best results.
Start by removing any dirt, dust, or debris from the surface using a broom or vacuum cleaner. If there are any stains or residues, use a mild cleaner and scrub brush to remove them.
It’s important to note that any dirt, dust, or debris left on the surface can negatively impact the effectiveness of the grout sealer. This is why it’s crucial to take the time to clean and prepare the surface properly. By doing so, you’ll ensure that the grout sealer will adhere properly and provide the protection your concrete surface needs.
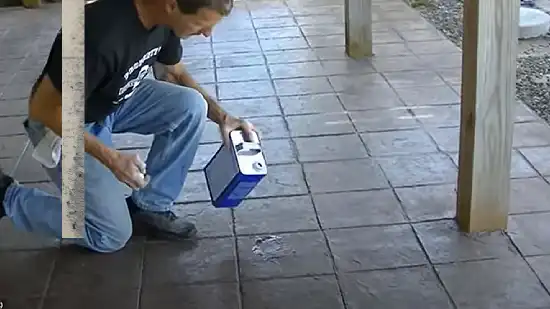
Step 3: Test the Grout’s Sealing Requirement
Ensure the grout lines are adequately sealed by performing a water test and checking for absorption. To do this, apply a small amount of water on the grout lines and observe its behavior.
If the water beads up on the surface, the grout is sufficiently sealed and requires no treatment. However, if the water absorbs into the grout, it must be sealed to prevent moisture, dirt, and bacteria from penetrating the surface.
You can use a grout sealer designed for concrete surfaces to seal the grout. This product will penetrate the grout lines and create a protective barrier that repels water and other substances.
Before applying the sealer, clean the area thoroughly and remove any dirt, dust, or debris. Once the surface is clean and dry, use a brush or roller to apply the sealer evenly on the grout lines.
Step 4: Select the Appropriate Grout Sealer
Choosing the right grout sealer can make all the difference in prolonging the life of your concrete surface and keeping it looking new. When selecting a sealer, it’s essential to consider the type of grout and the surface material.
Concrete surfaces require a high-quality grout sealer to withstand harsh weather conditions and protect against stains and discoloration. Here are some factors to consider when selecting the appropriate grout sealer:
| Factor | Description |
| Type of grout | Different types of grout require different sealers. For example, sanded grout needs a sealer that can penetrate the surface, while epoxy grout requires a sealer that can bond to the surface. |
| Surface Material | The surface material will affect the type of sealer needed. For example, STAIN-PROOF by Dry Treat is recommended for cement tiles and offers a 15-year warranty. |
Step 5: Read and Follow the Manufacturer’s Instructions
To ensure long-lasting protection for your concrete surface, remember to thoroughly read and follow the manufacturer’s instructions for applying the grout sealer. Failure to do so may result in an improper application, which can compromise the effectiveness of the sealer.
Here are some guidelines to keep in mind when reading and following the instructions:
- Pay close attention to any specific guidelines or precautions the manufacturer mentions. This may include information about the appropriate application method, the recommended sealer amount, and the curing time required for the sealer to set properly.
- Make sure you have all the necessary tools and equipment on hand before you begin applying the sealer. This may include a brush or roller for application, protective gloves and eyewear, and a well-ventilated area to work.
- Take note of any warnings or safety precautions listed on the product label. This may include information about the potential hazards associated with the product, as well as instructions for handling and disposing of the sealer safely.
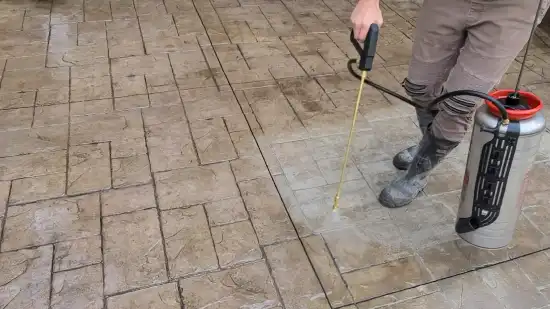
Step 6: Apply the Grout Sealer on the Concrete
Now that you’ve read and followed the manufacturer’s instructions, it’s time to apply the grout sealer on your concrete surface. Before you start, ensure you’ve put on your protective gloves and goggles as instructed in the background information.
Using an applicator brush or roller, apply the grout sealer generously and evenly onto the concrete surface. Ensure complete coverage, but do not let excess sealer pool on the surface. This can cause discoloration or a glossy finish, which may not be desirable.
Once the grout sealer has been applied, allow it to dry completely according to the manufacturer’s recommendations.
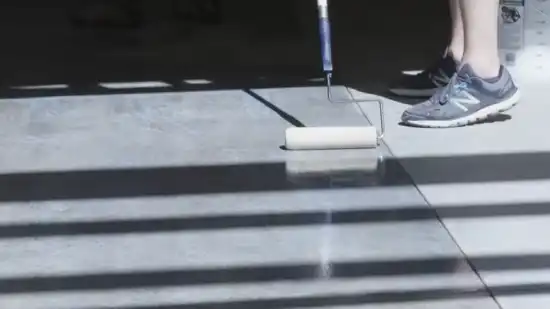
Step 7: Allow the Sealer to Penetrate
Once the grout sealer’s applied to the concrete, give it time to work its magic. Don’t rush the process and allow the sealer to penetrate the surface, forming a protective barrier that will help prevent stains and moisture from seeping into the concrete.
The recommended drying time specified by the manufacturer should be followed to ensure the sealer has enough time to bond properly with the concrete. During this period, avoid walking on the surface or exposing it to traffic or moisture.
When the sealer has dried completely, sprinkle a few drops of water on the surface to test its effectiveness. If the water beads up, the sealer has done its job and provided an effective barrier against moisture and stains.
Step 8: Wipe Off Excess Sealer
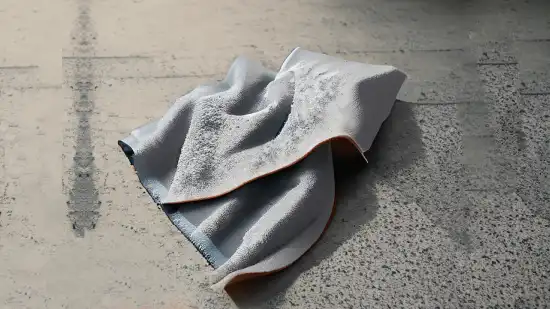
After waiting for the recommended penetration time, wiping off any excess sealer from the surface using a clean cloth or sponge is important. This step is crucial to avoid any potential staining, especially on the tile surfaces.
Pay extra attention to the grout lines and other areas where the sealer may have accumulated. When wiping off the excess sealer, be gentle and avoid using excessive pressure.
The goal is to remove the excess while leaving a thin, even layer of sealer on the surface. If you notice any streaks or uneven spots, use a clean cloth or sponge to buff the surface until it’s smooth and even gently.
Step 9: Let the Sealer Fully Cure
Allow the sealed area to rest undisturbed for the recommended curing period specified by the manufacturer, being mindful not to expose it to moisture or pressure. This is a crucial step in the grout sealing process because it allows the sealer to cure and bond with the grout fully. Failure to follow this step may result in a weakened bond and premature wear and tear of the sealer.
During the curing process, avoid stepping on or exposing the sealed area to moisture. This means refraining from mopping or wiping the surface and keeping pets or children away from the area. If you must clean the area, use a dry cloth or vacuum to remove debris.
Step 10: Apply the Second Coat (if necessary)
To ensure maximum protection, remember to check the manufacturer’s instructions for whether a second coat is needed. Some grout sealers may require a second coat for added protection. If the instructions indicate that a second coat is necessary, it’s crucial to follow the same application and curing process as before.
Applying the second coat properly will ensure that your concrete is well-protected and will last for years. When applying the second coat, remember that an ounce of prevention is worth a pound of cure. Take your time and ensure that the application is done properly.
Follow the curing process as before and allow the second coat to cure fully. Once it has cured, your concrete will have the maximum protection possible.
Why Should You Use Grout Sealer on Concrete?
If you’re wondering why you should use grout sealer on concrete, there are a few key reasons to consider. First and foremost, sealing your concrete with grout sealer can provide reliable protection from moisture damage.
1. Protection from Moisture Damage:
Protect your concrete from moisture damage by applying grout sealer, which creates a barrier that prevents mold growth, cracking, and deterioration over time. Moisture can seep into the grout lines and concrete, leading to structural damage over time. This is especially true in areas with high humidity or frequent rainfall.
The moisture can cause the concrete to expand and contract, leading to cracks and other issues that can be expensive to repair. Grout sealer helps to prevent this from happening by sealing the surface of the concrete and preventing moisture from getting in.
2. Prevention of Staining and Discoloration:
By sealing your grout, you’ll maintain the appearance of your concrete surface and avoid permanent stains caused by spills and dirt. Unsealed grout can absorb liquids and substances, leading to discoloration and unsightly stains that can be difficult to remove.
Grout sealer acts as a protective barrier, preventing spills and other substances from penetrating the grout and causing damage. The sealer forms a layer on the grout lines, making it easier to clean spills and preventing them from leaving permanent marks on your concrete surface.
3. Increased Durability and Longevity:
Moving on from the previous subtopic, note that grout sealer helps prevent staining and discoloration on concrete surfaces and significantly increases their durability and lifespan.
By providing an extra layer of protection, grout sealer reinforces the grout and makes it more resistant to wear and tear caused by daily use and environmental factors.
To give you a better understanding of the benefits of using grout sealer on concrete, here are some key advantages to keep in mind:
- Grout sealer strengthens the surface of the concrete, making it more resistant to cracking, chipping, and crumbling.
- It helps to prevent water and other liquids from seeping into the concrete, which can cause damage and lead to costly repairs.
- By reducing the need for repairs and replacements, grout sealers can help you save money in the long run.
- With increased durability and longevity, you can enjoy the beauty and functionality of your concrete surfaces for years to come.
Should cement grout be sealed?
Sealing cement grout is highly recommended to ensure its resistance to water, chemicals, and stains, especially in areas with high traffic or exposure to moisture. While concrete is a durable material, it is porous and can absorb liquids and chemicals. This can cause discoloration, staining, and damage to the surface.
Applying a penetrating sealer to cement grout protects it from these potential hazards and increases its durability and longevity. Cement grout is commonly used in tile installations and is susceptible to damage from moisture and chemicals.
Sealing the grout creates a barrier that prevents liquids and chemicals from penetrating the surface. This not only helps to maintain the appearance of the grout but also ensures that it remains structurally sound.
What is the easiest way to apply grout sealer?
Make your grout maintenance a breeze by using a foam sponge, brush, or small roller to apply the sealer onto the grout lines. Here’s how to apply grout sealer in the easiest way possible:
- First, clean the grout lines thoroughly to remove any dirt, debris, or stains using a grout cleaner or a mixture of vinegar and water.
- Next, shake the bottle of sealer well and pour some into a shallow dish or container.
- Dip the foam sponge, brush, or roller into the sealer and apply it to the grout lines, working in small sections and covering all the joints and corners. Avoid getting the sealer onto the tiles or other surfaces, as it can leave a residue.
Does sealing grout make it waterproof?
While it’s true that grout sealers can help protect your grout from staining and water damage, they don’t make your grout completely waterproof. This means that if your grout lines are exposed to much water or moisture, they can still become saturated and damaged over time.
To waterproof your grout lines, you’ll need to take additional steps beyond simply applying a sealer. This may include using a waterproofing membrane or coating on your concrete surface before applying the grout or using a special type designed to be more water-resistant.
Protect Your Concrete Surfaces with a Grout Sealer – Ensure Long-Lasting Beauty
Don’t let your concrete surfaces be vulnerable to damage and wear. Invest in a good quality grout sealer today and enjoy a long-lasting, beautiful finish for years.
Grout sealer protects your concrete from stains, water damage, and mold growth and enhances its overall appearance. But don’t just take our word for it. Try it out for yourself and see the results firsthand.
So go ahead and seal that concrete, and watch as it transforms into a durable and stunning surface.