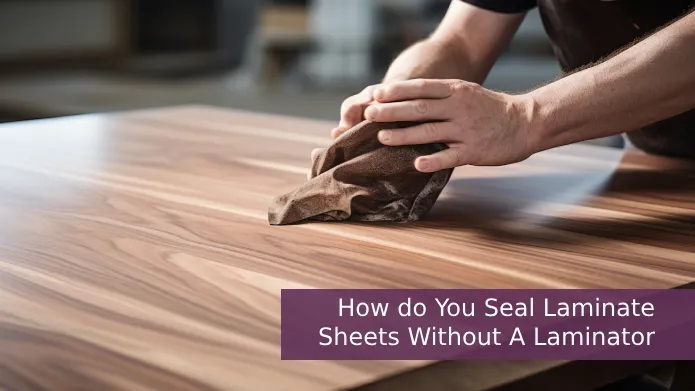
Laminating furniture surfaces with sleek and durable laminate sheets can give your home or kitchen an instant facelift. Sealing laminate sheets generally requires the use of a laminator, but you can achieve the same professional results without one.
To seal laminate sheets over your furniture without a laminator, you have to measure and cut the laminate sheets to fit precisely over your furniture. You’ll then apply contact cement adhesive to the sheets and place them over the furniture, creating a strong bond with a roller.
We will discuss how to seal laminate sheets without a laminator in detail so you can achieve stunning results. It will also enhance the beauty and durability of your furniture.
How Do You Seal Laminate Sheets Without a Laminator In Your Furniture: Step-By-Step Guide
Follow these step-by-step instructions to seal laminate sheets over your home and kitchen furniture without a laminator.
- Step 1: Gather the materials you’ll need
- Step 2: Prepare your workspace
- Step 3: Measure and cut the laminate sheets
- Step 4: Apply contact cement adhesive
- Step 5: Position and bond the laminate sheets
- Step 6: Trim the excess laminate
Check out all the steps in detail so that you can successfully seal laminate sheets without a laminator.
Step 1: Gather the Materials You’ll Need
Gather all the materials you’ll need for sealing laminate sheets without a laminator over your home or kitchen furniture.
Start by selecting laminate sheets that match the color and finish of your decor. Using high gloss laminate sheets for kitchen and home furniture is generally better since they look more attractive.
Ensure you have a high-quality contact cement adhesive specifically designed for laminate applications. Safety should be a priority, so don’t forget to wear safety glasses and gloves while working.
To accurately measure and cut the laminate sheets, have a measuring tape and a straight edge on hand. A sharp utility knife with extra blades will be necessary for cutting the sheets. Additionally, you’ll need a roller to press and bond the laminate to the furniture and wooden dowels to help position the sheets correctly.
Step 2: Prepare Your Workspace
Now, clear away any clutter and set up a clean and organized workspace before you begin sealing the laminate sheets onto your furniture.
Start by removing any unnecessary items from the area and organizing the tools and materials you’ll need for the project. Lay down drop cloths to protect your floor or countertops from any adhesive spills that may occur during the sealing process.
Additionally, ensure you have proper lighting in the workspace to see clearly and avoid any mistakes. For the adhesive to disperse any fumes, good ventilation is also required.
Step 3: Measure and Cut the Laminate Sheets
You have to measure the dimensions of the furniture surface you want to laminate carefully. To do this, use a measuring tape or a ruler to determine the length and width of the furniture surface you intend to laminate.
Measure from one edge to the opposite edge for both dimensions, ensuring you account for any corners or irregularities. Double-check your measurements to avoid errors and ensure a perfect fit for your laminate sheets.
Transfer these measurements onto the laminate sheets, leaving some extra material for overhang. Cut the laminate sheets along the marked lines using a straightedge and a utility knife.
Step 4: Apply Contact Cement Adhesive
After cutting the laminate sheets, apply a thin, even layer of contact cement adhesive to both the laminate sheet back and the furniture surface.
Using a brush or roller, carefully apply the adhesive, following the manufacturer’s instructions for drying times. The adhesive should become tacky but not wet to the touch. Be mindful not to apply too much adhesive, as excess glue can lead to uneven bonding.
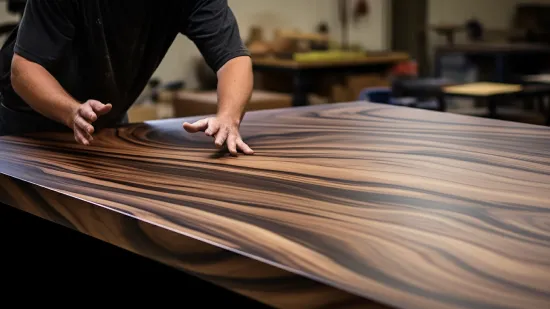
Step 5: Position and Bond the Laminate Sheets
After applying the contact cement adhesive, you now place the laminate sheets over the furniture. Slowly lower the laminate onto the furniture surface, ensuring it’s in the correct position.
To ensure a strong bond, apply even pressure to the laminate sheets. You can use a laminate roller or a clean cloth to press down on the surface firmly. Start from the center and work your way outwards, smoothing out any air bubbles or wrinkles.
Step 6: Trim the Excess Laminate
Now, grab a utility knife and carefully trim the excess laminate that overhangs the edges of your home or kitchen furniture.
Start by positioning the utility knife at a slight angle and slowly score the laminate along the edge of the furniture. Apply gentle pressure and let the blade do the work. Repeat this process along all the edges until the excess laminate is removed.
Once you’ve trimmed the laminate, you may notice rough or uneven edges. Use a file or sandpaper to smooth the edges for a finished look. Take care to avoid scratching the furniture surface and work gently and calmly.
How can you tell if the furniture is laminate or solid wood?
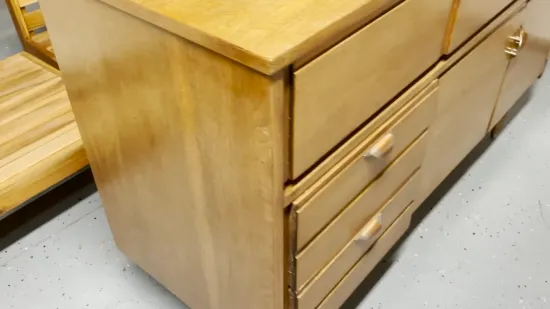
Examining its grain pattern and texture, you can determine whether furniture is laminate or solid wood. Solid wood furniture will exhibit a distinct and varying wood grain pattern across the piece. With a tactile texture, you can feel it when you run your hand over it.
The grain will be unique and irregular, reflecting the natural characteristics of the wood. In contrast, laminate furniture may lack a grain pattern or have one that appears smooth, repetitive, or unnatural.
If the surface feels smooth and the markings seem consistent without texture, it’s likely laminate. Additionally, if the piece lacks a discernible grain pattern altogether, it’s a strong indicator that it’s made of laminate material.
How do you clean laminate wood furniture?
To keep your laminate wood furniture looking its best, regularly wipe it down with a soft cloth and warm, soapy water. Begin by dampening a microfiber cloth with warm water, ensuring that it isn’t too wet.
Gently wipe down the laminate surface, removing any dust and dirt that may have accumulated. The microfiber cloth is an excellent choice because it effectively traps particles without scratching the laminate.
Embrace the Beauty and Durability of DIY Laminate Furniture
You can now successfully seal laminate sheets onto your home and kitchen furniture without needing a laminator. This DIY project enhances your furniture’s durability and aesthetic appeal while following a straightforward step-by-step process.
Having the right materials, a clean workspace, and carefully measuring and cutting the laminate sheets have set you up for success. Applying contact cement adhesive, positioning, bonding, and trimming the excess laminate complete the transformation.
With your newly sealed laminate furniture, you’ll enjoy a refreshed look and the satisfaction of a well-done job.