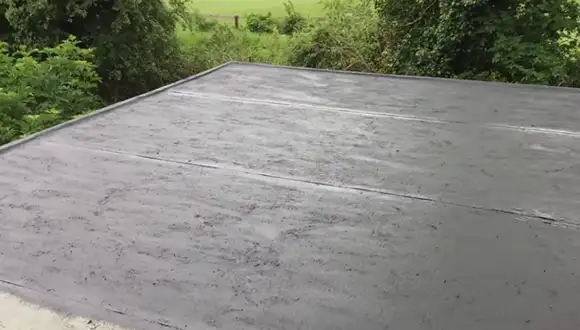
Eventually, concrete garage roofs crack and crumble due to weather and wear, and water seeps in, UV rays bear down, and water seeps in. Only by sealing the roof, can you help to extend its lifespan and keep your garage roof in top condition.
The concrete garage roof is one of the most important components of the garage, and it needs to be properly maintained in order to protect the interior from the elements. Sealing helps to create a barrier between the concrete and the elements, keep moisture out and prevent germs from growing.
In light of this, a conscientious garage owner may wonder how to seal a concrete garage roof. In this blog post, we will discuss how you can do it and also share tips and advice to complete a sealing job properly.
How to Seal a Concrete Garage Roof: Detailed Steps
Required Accessories:
you’ll need to gather the necessary supplies.
- Putty knife
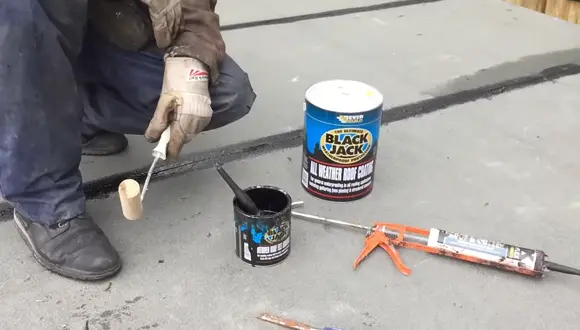
- Caulk gun
- Weather-resistant caulk
- Concrete sealant
Once you have all of your supplies, you’re ready to get started.
1. Select the Correct Sealant
The first step in sealing your door threshold is to select the correct sealant. There are a variety of sealants available on the market, so it is important to choose one that is specifically designed for concrete. In general, silicone or urethane sealants work well for concrete thresholds.
2. Clean the Surface
Before applying the sealant, you will need to clean the surface of the threshold. Start by removing any particles that may be present. You can use a vacuum cleaner or a brush to remove loose particles. After cleaning the surface, you will need to use a degreaser to remove any oils or other contaminants that may be present.
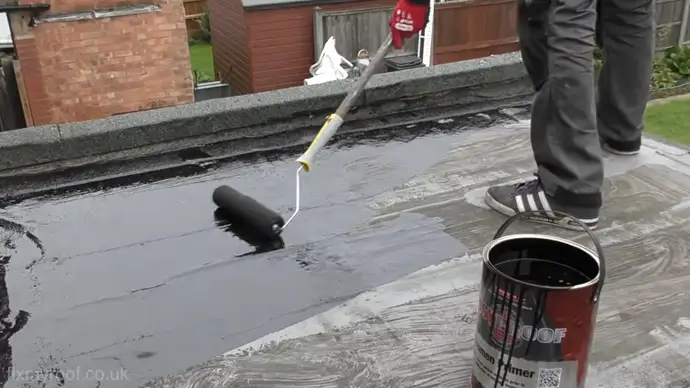
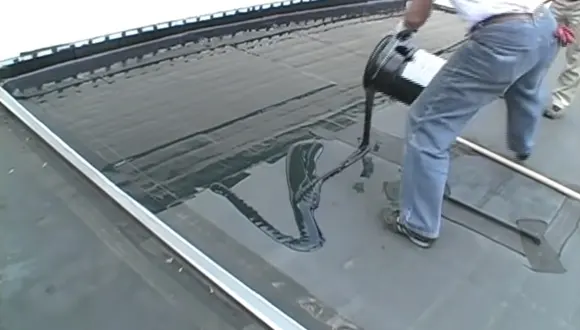
3. Apply the Sealant
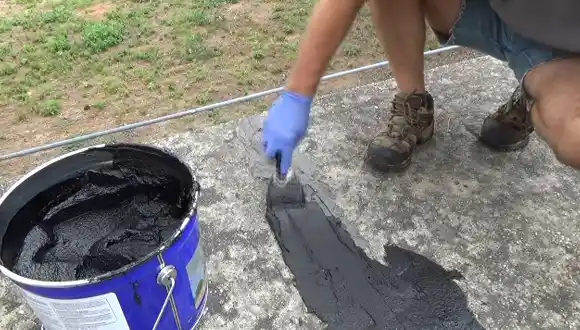
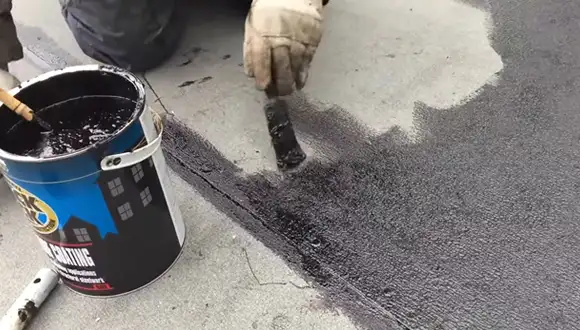
Once the surface is clean and dry, you can apply the sealant. Start by applying a thin bead of sealant along the edge of the threshold. You can use a putty knife or a caulk gun to apply the sealant. Use a back-and-forth motion to ensure that the sealant penetrates into all of the pores in the concrete.
As you work, keep an eye out for any runs or drips. Once you have applied a bead of sealant, you should smooth it out with a wet finger or a tool designed for this purpose.
4. Allow the Sealant to Dry
After you have applied the sealant, it is necessary to allow it to dry. The amount of time it takes for the sealant to dry will vary depending on the specific product you are using. In general, you should allow at least 24 to 48 hours of drying time before using the threshold.
5. Apply a Second Coat (optional)
If desired, you can apply a second coat of sealant after the first coat has dried completely. This is not always necessary, but it can help to further protect your threshold from water damage.
Tips and Advice:
1. What Type of Concrete Your Roof is Made of:
There are two types of concrete: Portland cement and asphalt-modified Portland cement. Asphalt-modified Portland cement is more flexible, making it less likely to crack under weather conditions like freeze and thaw cycles.
2. Inspect Your Roof for Cracks Before Sealing:
It’s important to look for cracks in your roof before applying a sealant. If left untreated, these cracks will only grow larger and may cause extensive damage to your roof.
3. Choose a sealant that’s specific to your needs:
There are many different types of sealants on the market, so it’s important to choose one that’s best suited to your needs. For example, if you live in an area with high humidity, you’ll need a sealant that’s designed to resist fungi and bacteria.
4. Apply the sealant in dry conditions:
It’s important to apply the sealant when the weather is dry. If you try to apply it when it’s wet or during a rainstorm, the sealant won’t be as effective.
5. Follow the Manufacturer’s Instructions:
When in doubt, always follow the manufacturer’s instructions. They know their product better than anyone else and will be able to give you the best advice on how to use it effectively.
6. Check Your Work for Any Necessary Rework:
Inspect your work to make sure there are no low spots that could collect water. Also, check for any damaged areas that need to be repaired before any rework is done by you.
How Long Does Concrete Garage Roof Sealant Take to Dry?
Concrete garage roof sealant generally takes 24 to 48 hours to dry completely. This time frame can be affected by a variety of factors, including temperature, humidity, and air circulation.
For example, when it’s applied on a hot, sunny day, it will likely dry more quickly than if it is applied on a cooler, cloudy day. Similarly, if the sealant is applied near a high humidity area, it may take longer to dry.
Therefore, it is important to consult the manufacturer’s instructions before applying the sealant to ensure that it will have sufficient time to dry.
How Long Does Concrete Roof Sealant Last?
Concrete roof sealant is a very preferred choice for sealing concrete roofs. It is a long-lasting sealant that can last up to 10 years with proper maintenance. Maintenance of the sealant includes regularly checking the area for cracks or chips and repairing them as soon as possible.
In general, though, checking every six months should be sufficient. It is also important to avoid using harsh chemicals or cleaners on the sealant as this can adversely affect the longevity of the sealant.
Will Elastomeric Concrete Roof Coating Stop Leaks?
Elastomeric roof coatings have become increasingly widespread in recent years as a way to extend the life of a roof and prevent leaks. They are a type of sealant that is applied to roofs in order to prevent leaks. When applied correctly, they can be effective at stopping leaks in both roofs and gutters.
But does this type of coating actually work? The answer is yes. Elastomeric roof coatings can help to stop leaks. This type of coating is applied over the existing roof surface and forms a barrier that is airtight and water-resistant.
In addition, elastomeric roof coatings are highly flexible, so they can expand and contract with the roof as temperatures change. This helps to prevent cracks and gaps that can lead to leaks. So if you’re looking for a way to stop leaks in your roof, an elastomeric roof coating is a good option to consider.
Why Does the Concrete Garage Roof Leak?
Most garage roofs are made of concrete, which is a porous material. This means that water can seep through the roof and cause leaks. There are a few different reasons why this might happen:
- The roof may not be properly sealed, allowing water to seep through cracks and openings.
- It is likely that the roof is not pitched correctly, causing water to pool on the surface and eventually seep through.
- There may be defects in the concrete itself, such as voids or weak spots that allow water to pass through.
In order to prevent a concrete garage roof from leaking, it is important to make sure that the roof is properly sealed and pitched.
Can You Seal an Old Concrete Garage Roof?
Over time, concrete garage roofs can develop cracks and leaks. While it is possible to patch these problems, they will often reappear. Due to this, many homeowners opt to seal their garage roofs with a waterproof coating.
This coating can help to prevent water from seeping into the concrete and causing further damage. Besides that, it can also extend the lifespan of the roof by protecting it from weathering and UV rays.
So, Let’s Seal a Concrete Garage Roof
A garage roof can last for many years with the right maintenance. Part of maintaining a garage roof is sealing it to prevent leaks. While it may seem like a complicated process, sealing a concrete garage roof is actually quite simple.
Sealing helps to prevent staining and fading, keeping your garage roof in pristine condition. For best results, sealing should be done every two to three years. By taking these steps, you can help extend the life of your garage roof and prevent costly repairs in the future. Thanks for reading.
You Might be Interested:
- What’s the best sealant for metal to concrete?
- What’s the best adhesive for bottom garage door seals?