Your chimney is a crucial part of your home, but it can be difficult to protect from the elements if you do not have it sealed. On the other hand, if you have a fireplace, it is essential that the flue pipe is properly sealed so that fumes and smoke do not escape into your household.
Sealing a chimney pipe is important to preventing water, animals, and debris from entering your home. A properly sealed chimney pipe will also keep hot air in and cold air out, improving your home’s energy efficiency. There are several ways to seal a chimney pipe, but the most effective and long-lasting method is to use concrete.
In this blog post, we will discuss how to seal chimney pipe in concrete. We’ll go over the materials you’ll need and the steps you’ll need to follow. By the end of this post, you should have a good understanding of the overall process.
How to Seal Chimney Pipe in Concrete: Detailed Instructions
Materials You Will Need:
Before you begin, it is important to gather all of the materials you will need so that you can work uninterrupted. For this project, you will need:
- Chimney pipe
- Cement or Concrete sealant
- Sand
- Water
- Trowel
- Bucket
- Stirring rod
- Caulking gun
Step One: Prepare the Area
Before beginning, it is important to make sure that the area around the chimney pipe is clean and free from clutter. This will help the concrete to better adhere to the surface of the chimney pipe. Once the area is prepared, you can begin to apply the concrete sealant.
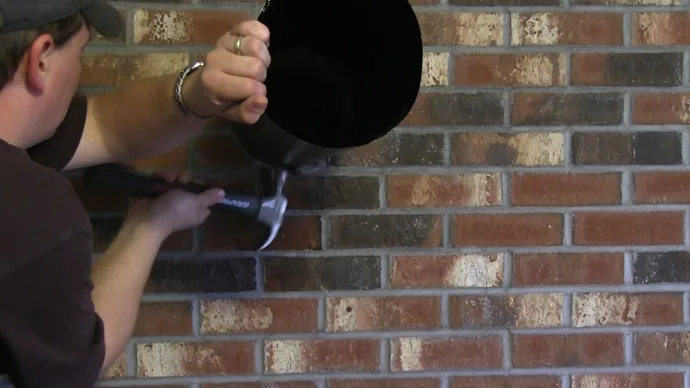
Step Two: Inspect
Inspect the pipe’s surround to make sure that there are no gaps or cracks. If you can’t see any deterioration, then use a flashlight to get a better look. Once you’ve found the abrasion, use a tape measure to determine how big the crack or hole is. If there are, use a putty knife or caulk gun to fill them in.
Step Three: Cut the Pipe
Cut a piece of 8″ diameter PVC pipe to the desired length. This will be used as a form when you pour the concrete, so make sure it’s long enough to extend at least 6″ past the end of the chimney pipe.
Step Four: Put it in Place
Place the PVC pipe over the chimney pipe, making sure that it’s centered. Use duct tape or another type of adhesive to secure it in place.
Step Five: Prepare the Concrete
Mix together the concrete according to the manufacturer’s instructions. Follow the instructions on the package, being careful not to add too much water. The concrete should be mixed until it’s thick and pasty. Be sure to wear gloves and a respirator mask during this process.
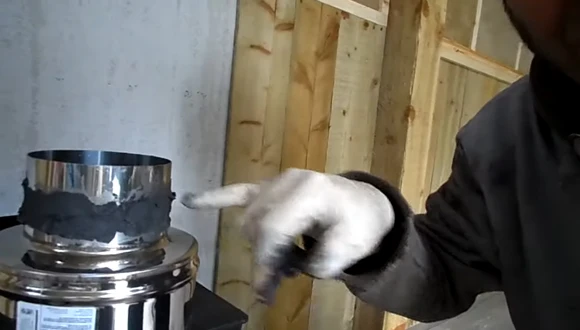
Step Six: Pour the Concrete
Slowly pour the concrete into the PVC pipe form, being careful not to overfill it. Use a putty knife or trowel to apply it over the crack or hole in your chimney pipe.
Once the cement mixture is applied, use the stirring rod to smooth it out so that it is level with the rest of the concrete around your chimney pipe. Be sure to fill in the crack or hole completely, and smooth out the surface as best as you can.
Step Seven: Apply the Sealant
Aside from that, you can apply sealant if necessary. Using a caulking gun, apply the sealant around the perimeter of the chimney pipe. Make sure to smooth out the sealant so that it is even.
Step Eight: Let It Dry
Once you have applied the sealant, it is important to let it dry completely before using the fireplace. Depending on the type of sealant you use, this could take anywhere from 24 to 48 hours.
Step Nine: Test it Out
Once the sealant has dried, you can test it out by lighting a fire in your fireplace. If everything goes well, you should not see any smoke or fumes coming from the chimney pipe.
Do I Need to Seal the Chimney Pipe?

The answer to this question depends on several factors. To begin with, it is important to check whether your chimney pipe is made of clay, metal, or another material. If it is made of clay, it is likely that you will need to seal it in order to prevent water from damaging it.
Metal chimneys, on the other hand, are less likely to suffer from water deterioration and thus do not usually require sealing. Also, you should consider the climate in which you live.
If you live in an area with high humidity levels, it is important to ensure that your chimney is properly sealed in order to prevent moisture from entering your home.
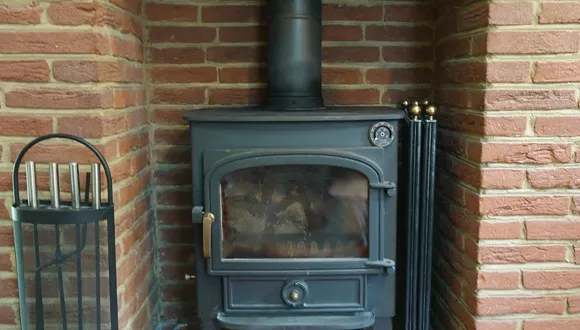
Can You Seal a Wood Stove Chimney Pipe in Concrete?
It’s possible to close the chimney pipe of a wood stove with concrete, but it’s not recommended to do so with caulk. The National Fire Protection Association (NFPA) code prohibits the use of any flammable sealant, such as caulk, around a chimney. This is because the heat from the fire can cause the sealant to ignite, creating a serious fire hazard.
Aside from that, concrete can crack when it’s exposed to high temperatures, and if the wood stove chimney pipe is sealed in concrete, it could be very difficult to repair if it does develop cracks. For these reasons, it’s best to leave the installation of a wood stove chimney pipe to a professional.
Can You Use Expanding Foam to Seal a Chimney Pipe?
It’s easy to see why people might think that expanding foam would be a good choice for sealing a chimney pipe. After all, the foam is designed to expand and fill in any cracks or gaps. Despite this, there are several reasons why this is not a good idea.
First, the expanding foam will eventually harden, which means that it will not be able to adjust to changes in temperature. This could cause the seal to fail when the temperature changes.
Second, the chemicals in the expanding foam can be corrosive, which could corrode the chimney pipe over time. Then, the expanding foam can trap moisture, which can lead to rust and other problems. For these reasons, it is best to avoid using expanding foam when sealing chimney pipes.
Why Does the Chimney Pipe Leak When it Rains?
There are several factors that can contribute to a chimney pipe leaking when it rains. One of the most frequent causes is a build-up of sludge and soot on the inside of the chimney liner.
This can create a barrier that prevents water from draining properly, causing it to back up and leak out through the top of the chimney. Another possibility is that the flashings around the base of the chimney are damaged or loose, allowing water to seep in and leak down the inside of the chimney.
In some cases, the problem may be due to a crack in the chimney liner itself. Regardless of the cause, it’s important to have any leaks in a chimney pipe repaired as soon as possible to prevent further problems.
Conclusion:
The sealing of chimney pipes with concrete is a preventive measure ensuring that your home is well insulated against cold air drafts. Also, this will help keep the heat in your home and prevent moisture from building up and causing problems to your roof.
Keep in mind that you will need to re-seal your chimney pipe every few years, depending on the severity of the weather conditions in your area. But overall, sealing your chimney pipe with concrete is a relatively easy and inexpensive project that will save you money in the long run. Thanks for reading.