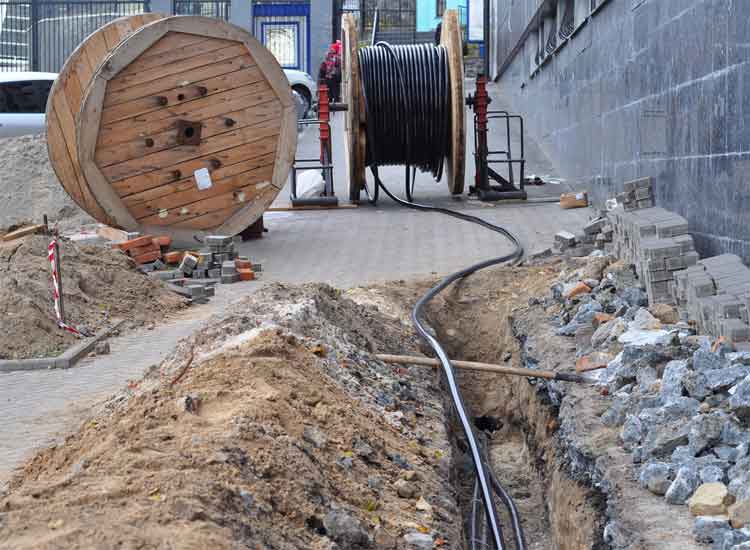
When installing the household wiring systems, it is essential to ground them to make the household wiring system safe. Grounding will also protect your home and you from any electrical mishap. It will protect your wiring system from short circuits, breakdown, and any other issue.
So when you are grounding multiple wires, what the best way to drop them is? We will guide you in the below content about grounding multiple wires. Read and know about the grounding in the perfect way to make your home secure from any unwanted instance.
How Grounding Protects Your Wiring System?
Grounding provides another path for the electrical systems to pass through and protect them from electric short circuits or breakdown. It gives the electrical current towards the earth, absorbing the electric current and risk of electrical shocks or electric wires minimized.
How to Connect Multiple Wires While Grounding the Wires?

The basic principle is not much complex; it is as easy and straightforward. The general rule of connecting the multiple wires for grounding is to connect the white wires with white wires and black wires with black wires.
If you see there are bare or green wires coming from the ceiling, connect these wires to the ground wires. But below are the detailed guidelines to connect the multiple ground wires.
Step by Step Guidelines to Connect Multiple Wires While Grounding
Step One
First of all, wear the safety gadgets such as plastic gloves, safe clothes, and long plastic shoes. Next to that, turn off the circuit breaker to make it safe to work without worrying about electric shock.
Step Two
To make your working more secure, set your voltage tester to AC volts at the highest setting; it will detect the voltage at its most heightened sensitivity. Now take the red lead, insert it into the small slot, and then insert the black lead from the tester into the large slot.
Step Three
Now see your tester voltage; if it shows some voltage, it means it is not properly turned off, and the current is passing. Recheck the circuit breaker to ensure that you have turned off the correct breaker. Ensure that there is no voltage is passing through the tester and the circuit is properly off.
Step Four
In that step, remove the outlet cover with a screwdriver and remove the screws used to hold the electrical box. After removing that, pull the outlet out of the box to make sure all screws are visible.
Step Five
Now lose up all the screws that use to hold the wires on the outlet and after that pull all the cables from the outlet. Now examine the wires’ colors; you will see all the black and white wires.
When using multiple wires, the number is not fixed, but wires will be equal in number. If there are five white wires, then it is a must; there are five black wires.
Now curl the end of all wires and connect the white wires with the white wires and black wires with the black wires. Once you have joined these wires, now insert the white wires with the open side in the outlet’s right and tighten them using screws.
While for black wires, connect the black wires ends with the open side on the right and tighten all the wires using screws.
Step Six
Now cut a piece of bare wire in 6 inches length and then cut the two ground wires in the electrical box but keep their length the same; try to keep their length 6 inches as you have cut the bare wire. According to national electrical code 300.14, it is also necessary to cut the lengths of the wires.
Next to that, hold the 6 inches pigtail alongside the other ground wires, connect them with all of your available wires, and even keep their ends. Twist all of these wires by using pliers in a clockwise direction. Now twist another wire nut firmly onto the other end of the twisted ground wires.
Step Seven
When doing the above steps, make a curl and put it at the end of the pigtailed piece of ground wire. Now connect the curls and green ground screws from the open side to the right side of the curl and tighten all the ground screws properly using a straight screwdriver.
Step Eight
In the last step, take the entire wire nut and ground wires and push them into the electrical box from the backside. Next to that, push the wires and the outlet in the box and install it with two screws to hold the outlet in the proper place.
But make sure the bare ground wires are separate and do not touch the screws from any sides of the outlet. Now install the cover; you have done grounding of multiple wires and now turn on the breaker.
Final Thoughts
Grounding of wires is essential to keep our wiring system protected from harmful effects of electricity. It is pretty easy to do the grounding of multiple wires. Follow the above simple guidelines and connect multiple wires for grounding.