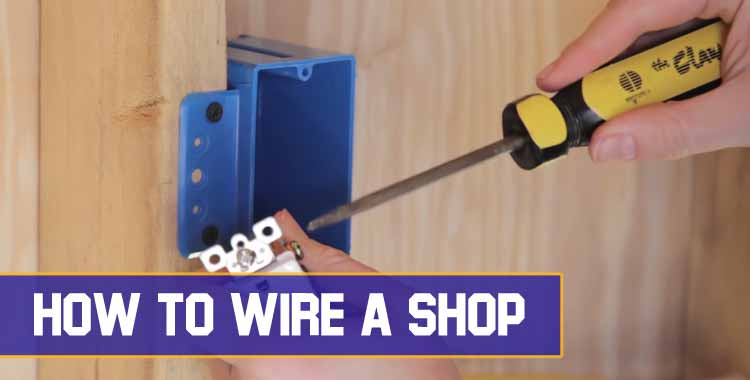
Setting up your shop with outlets, LED, lighting is considered the main challenge to do! Meanwhile, if you’re looking up for cost management, then it seems little expense to set up electricity in your shop.
But there’s good news for you! If you’re had any previous experience of doing such electric work, then, of course, you’re going to do this project with a little effort! And even don’t have experience? Then you need enough confidence just! We’re here to guide you on how to wire a shop. Don’t worry!
Holding patience and doing proper planning, take an end of confusion- that’s enough! Let’s check what’s waiting for your dream shop electricity! Set up your shop with a more secure electric condition, more delightful, more comfortable, and finally more attractive!
How to Wire a Shop: Step by Step Guideline
To wire a shop, you first make proper planning what should do and what should be avoided. There are many different construction styles of building shops. Now, depending on your shop’s construction, you’ve to decide how many outlets you may need, what types of conduit you should use, the distance between sheds or walls, and similar more things you need to fix first.
Next, take a look on up next! Here, we’re trying to gather proper instructions and short tips to help you find this project more easy and interesting. Get started
Step 1: Gather the Necessary Tools You Need

Firstly, you have to know the materials and then have to collect them! Managing the material in front of you will save both the time and energy to complete the work. Check out the necessary material list to get the work done perfectly.-
● Screwdriver
● Drill
● Electrical box
● Electrical cable
● Hammer
● Electrical conduit and fittings
● Wire stripper
● Stacker staple
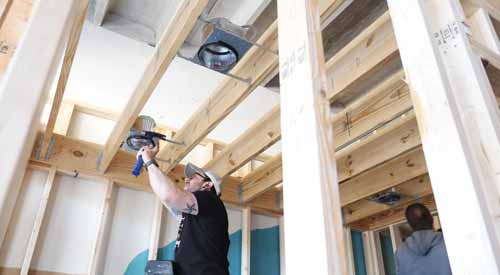
Step 2: Mark Box Location and Drill the Hole

Measure and mark the center of each box. Mark the height from the floor to the center of the boxes. It will help you to determine the exact location of boxes from the ground.
To mark a box location, select a corner and use chalk to mark an exact point where you’re adjusting the box. Put a screw in one end and tie a string to it.
After that, pull the string level using another screw at the end. You should drill holes below the string line (use the string line, such as the bottom of plug boxes).
Step 3: Set the Boxes

Now, mount the plug boxes slightly in case you can get your boxes ready for next. To get your wires fit inside, just push out the little holes
Create a distance from the wall; you can use a piece of scrap wood. The right width line will ensure the adjustments. So, don’t forget to take the right measures.
Make the boxes flush with the claimed them. Next, pre-drilled and use a screwdriver in some screws to hold the boxes perfectly.
Step 4: Insert the Wires
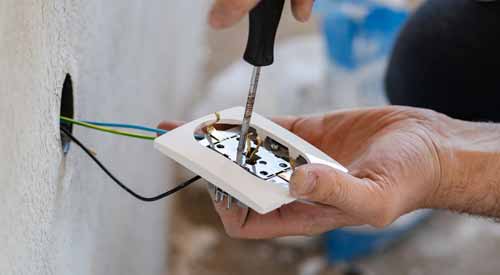
To run a cable from one box to another, using a stripper to strip at least 8-inches of the sheathing of the wire. Now, thread the wires through the electrical box cable.
Here, untwist the cable and staple it at least every 4ft to the framing. Never cut the length of the wire very first.
While reaching out to the next box, stretch out the cable, mark the entrance point, and now cut the cable, strip the sheathing, and then feed the wire to the box.
Group and level the wires into the switch boxes. Call in an electrician to connect the circuits.
After that, nail in the staples near the box.
Repeat this process to the other boxes.
● Don’t run wires in an open joist.
● Don’t run wires across open stud spaces.
Frequently Asked Question: How to Wire a Shop
Question 1: Which Wire is Used in the Workshop?
Conduit piper wiring is the best choice for use in workshop electricity. You can also use cleat wiring, batten wiring, LCC wiring, which is permanent to use.
Question 2: Is Conduit Required for Garage Wiring?
If your garage is built with two or more concrete walls, then you should use a conduit. Exposed walls need to be secured or protected through the conduit. So, the conduit is a must for this kind of construction or already drywall.
Question 3: How Many Amps do I Need for a Workshop?
The quantity of amps depends on the construction of your workshop. If you have a small workshop, you can use a 20amp line for the tools and a 15amp for the lighting.
Conclusion:
Thus, wiring a shop is comparatively hard for the beginner. If you’re very beginner and scared of doing these electrical things, then there is no need to take the risk of life. Here the basics highlight the process that will help you out if you had any previous experience of doing electric projects.
If you think of not doing the project, then just call an electrician. It will save money, effort, and also time.