We all are more or less familiar with the process of grinding and removing the upper layer of any asphalt paved area. This procedure is known as asphalt milling or pavement milling. It is often done to keep the road not too high from years of frequent asphalt resurfacing. It helps to solve the drainage problem too.
However, during milling, the removed asphalt materials can be reused in other projects at a low cost. Even sometimes recycled asphalt can be a substitution for stone gravel and hot asphalt too. Besides, harsh weather elements cannot easily worsen their firmness.
However, today we will discuss how you can harden asphalt millings. Please stay with us until the end of this guide to get an in-depth idea.
Guide for Hardening Asphalt Millings
While using traditional asphalt, its application requires a ‘hot mix’ of asphalt spread using some special equipment. On the contrary, asphalt millings are used without the application of heat.
It is basically a ‘cold mix’ asphalt laid and rectified at the surrounding outdoor temperature. Once the asphalt millings are laid perfectly, a steamroller is used to compact it to get the best finish. After getting it properly compacted, the surface will harden quickly within a few days.
Applicable Rules
It is necessary to obey the applicable regulations before you start. Your community or HOA (Homeowner Association) may have some rules and restrictions limiting your capability to use asphalt or asphalt millings.
So, be sure about the rules created by your HOA regarding the use of asphalt millings before you start using them for your own project.
Prepare The Space
If you are about to build a new way upon the top of the soil, ensure that you have a good plan for proper drainage. You have to make sure whether the water will pass beside the driveway or direct to the bottom.
Then, manage a drum roller compactor and carefully drive it over the soil’s base for the purpose of compacting it perfectly. After that, scatter coarse and jagged gravel to cover the compacted soil. Make sure that you will use a proper road-based mix in order to allow drainage.
Then wait for several days so that it can be settled alone. It will make the base stronger and more durable for the asphalt millings, which will allow you to detect and fix any potential issue regarding the compaction task.
On the other hand, if you want to pave over an existing way or parking place, then drive over that area and search for places where the existing asphalt seems loose. You have to remove those loose asphalt and fill those places with gravel.
Evaluate the Asphalt Millings that you Want to Use
Before using asphalt millings, discuss the process with your asphalt millings supplier. He is supposed to check the millings and ensure that the milling pieces shouldn’t be larger than two inches. If necessary, bigger pieces of millings can be crushed into a smaller size.
Besides, the supplier should also check whether the millings contain a large amount of fine material or whether they are coarser. In some cases, the supplier may need to include an emulsion.
It is an additive which contains suspended droplets of asphalt in water. It helps to fasten the mix. The emulsion is basically designed for a cold mixture of asphalt.
An addition of emulsion of 2.5% to 3% is required if the material is coarse. On the contrary, emulsion should be 3% to 3.5% for fine material.
After that, the supplier will add the right amount of emulsion to the tested millings in the pug mill. Then he will mix the millings and combined emulsion in the pug mill for creating the homogenous material.
Take the Asphalt Mixture to your Desired Place
Once it is properly mixed, deliver the millings to your desired place where the paving equipment is waiting.
Unload the Asphalt Millings
You have two ways of dumping asphalt millings.
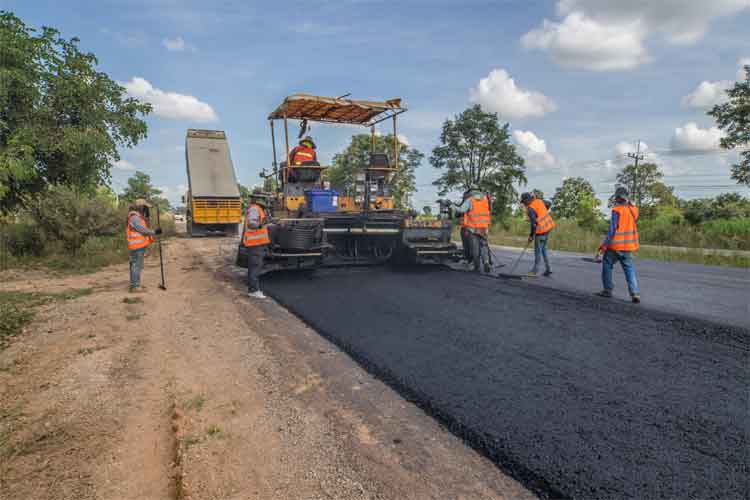
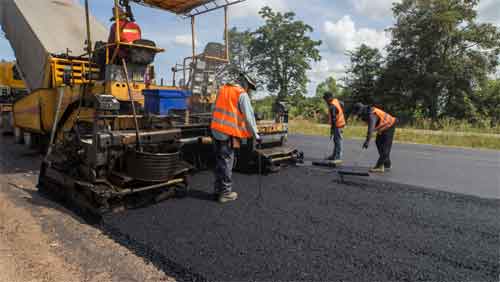
• Use a spreader or asphalt paver: You can spread the millings by using an asphalt paver or spreader. About four inches of the recycled mixture should be placed over the soil.
• Pile up the asphalt millings along the road and smoothly spread it: If you are a DIYer, you have to be ready with a bobcat, but if you feel that you are not experienced, then you have to hire an operator in order to move the asphalt into the desired place.
To get more perfect edges, you can also use hand shovel. Anyway, the bobcat’s rack bucket is used as a leveller which can smoothen asphalt millings across the road base.
Compact the Asphalt Millings
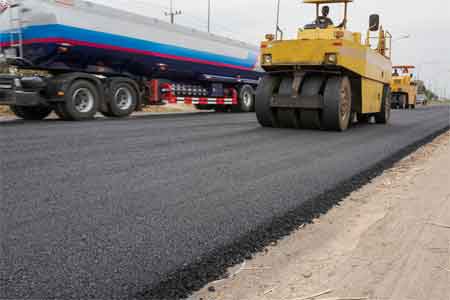
Your hired contractor will use a 25-ton pneumatic-tired roller for conducting the first run of compaction. For next round, he will be using a 12-ton roller or a double drum vibratory steel-wheeled roller.
The steel drums need to be wet for avoiding materials which can stick to the roller. After compacting the millings now, it’s time to compact the surface.
So, what you need is to be ready with a drum roller or you can hire an operator to drive the roller in order to compact the surface.
Seal the Asphalt Millings
By the time you are done with millings and surface compaction, you have to seal it using a layer of less expensive seal mix over the recycled milled area. You can also use a 1.25-inch layer of the new asphalt milled surface.
Advantages of Using Recycled Asphalt Millings
In comparison to the traditional gravel materials, recycled asphalt millings are less susceptible to the elements. Besides, they do not require frequent patching or sealing. Moreover, while hot asphalt tends to break down over time, asphalt millings become harder and stronger.
If the traffic and damage rate remains normal, a surface built of asphalt millings will last approximately twenty to thirty years old with a very little maintenance. Just be careful about the proper installation and hardening method. Hope you will find this write up useful. Thank you!