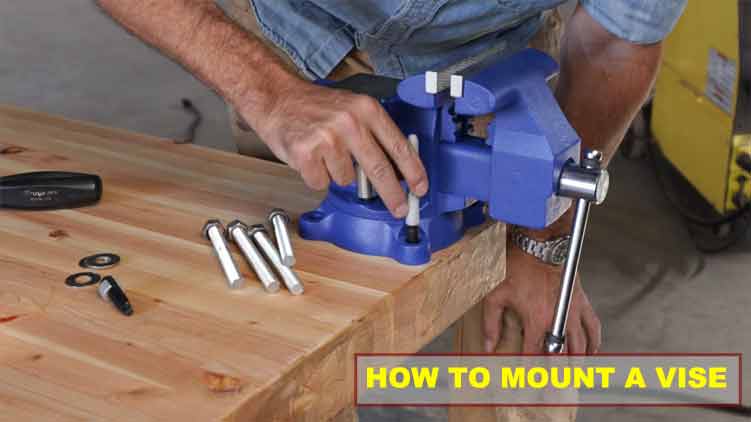
Are you looking for the ideas to mount a vise? Then you are at the right place because we will share the most straightforward way with you to mount a vise. Learn from step by step guide to mount a vise.
Step one
Start your task by preparing a plate to mount the vise. You can use a double layer ¾ inches plywood and make sure it is stable and strong in both directions. Plywood is also easier to cut into larger sizes without gluing or milling the panels.
We will use the 10 ¾ inches long plywood piece because you will need to lay it around the scrap pile and cut it into two 7 inches widths. In addition, it will secure from tear out during use.
Step two
Now cut the plywood matching layers but ensure the exact size of both. Then cover each piece on one side with glue and then sandwich both pieces together and clamp them, leave the pieces a few times. One hour is enough to dry the glue; you will get a one and ½ inches thick plate to mount the vise after drying it.
Step Three
After that, determine where you will mount your vise and how far from the edge you want to hang it for clearance or any other purpose. Choosing the center is best, but you can choose any place you need.
Once you have chosen the place, mark plywood’s thickness at that spot—no need to measure it with a ruler.
Step Four
Now do some cutting jobs, so take your saw and make sure you have a flat-top rip blade in the saw. Then, set the blade as it goes through the first layer of your plywood and goes halfway into the second layer of plywood. But do not cross both layers.
After that, cut the thickness down to the length and then create the dado. Start from one side, then come to the other side and then overlap and passes through the clear out the waste in the middle. While doing that, keep it a bit tight at the start; you can check it with your plywood and then cut the tiny cuts to fit.
No worry, if you do not have a table saw with you, then you can also use the handsaw or circular saw. But keep everything sure, and it is good if you mark the baseline before start cutting.
Step Five
Now make holes on the bottom of your top plate to mount the vise, trace the outlines first and then trace the center. After that, drill out the counterbores on the bottom side, deep and wide enough to accept the washer and nuts.
Expert recommends 7/8 inches Forstner bit for that purpose. The nuts do not measure the width, but it measures the socket wrench’s outer diameter that you will use to tighten it. A ¾ inches diameter wrench is good to use.
After that, through the use of the brad-point hole of the Forstner bit, drill through the clearance holes more comprehensively enough that readily accept the bolts.
Step Six
Now determine what size of length you will need to support L-shaped by checking any of the screws from your front vise. It is not a necessary step, but make sure it does not hit anything before gluing it in.
Once you have cut the size, apply the thin layer of the glue in the dado and then enter the piece of plywood that you just cut.
To make it secure, use the glue, and you can reinforce the dado joint with the screws and dowels if you want, but it is not necessary. But it will give better contact with the plywood and also provide it with strength.
Step Seven
Now take the wrenches to connect the vise to the plate and then bolts, washers, and nuts from each side. You may need the following hardware four 5/16-18 bolts, 1 and ¾ inches long, four 5/16-18 lock washers, and eight ½ inches OD washers, 3/8 inches hole.
It is good to double-check the hardware for the proper thickness of the vise and to mount it in holes properly. After that, tighten everything and make sure it is firmly secured. You have done your job.
Your vise has been mounted. You can make some alterations according to the required size, but the rule will remain the same. When taking measurements and cutting the plywood, make sure you have correctly done everything because your little mistake will create a big problem in the end.
So do your work efficiently but remain active with your work.
Final Thoughts
Mounting vise is not a complex task; you can make your table best to use by installing vise. On the other hand, it is an easy but long task that needs careful handling. Your little mistake can spoil all your efforts. Nevertheless, you can follow our guidelines to mount vise.