You just painted your house and noticed that some spots were sprayed on too heavily. Ignoring these spots can eventually lead to peeling paint and other problems like mold and mildew. So you need to touch up as soon as possible.
Touch up paint is a type of paint that is used to cover up small weaknesses in a paint job. These imperfections could be anything from small scratches to chips in the paint. But before you start touching up, it’s important to understand how to touch up paint that was sprayed on.
With a proper guide, you can restore your paint job and have it look as good as new. That’s why we are here to help you. You can also find additional tips for making your paint look its best.
How to Touch Up Paint That was Sprayed on with easy Steps?
While you might think retouching paint is a difficult task, it’s actually quite simple. All you need is a little patience and the right supplies.
Things You Need:
- Paint
- Stir stick
- Thinner
- Masking tape
- Drop cloth
- Sandpaper or scraper
- Brush or roller
- Damp cloth
Here are the steps for touching up the paint that’s been sprayed on:
Step 01: Choose the Right Paint
After you have determined the paint surface, you need to select the right type of touch-up paint. The best way to do this is to match the paint brand, color, and sheen.
If you’re touching up a wall that was previously painted with oil-based paint, make sure to use an oil-based coating. Similarly, if the original paint job was done with latex paint, use latex paint for the touch-up.
Using the wrong type of paint will make it more difficult to get an exact match and could cause the new paint job to fail prematurely.
You may also want to consider purchasing a small can of paint instead of a larger one. This way, you won’t have leftover paint that you’ll never use.
Step 02: Match the Paint Texture
There are several types of paint textures, including flat, eggshell, semi-gloss, and high-gloss. If you’re not sure what type of texture your paint has, take a close look at the finish. Once you’ve determined the type of texture, you can purchase touch-up paint that has the same finish. This will help to ensure that the touch-up paint blends in seamlessly with the rest of your walls.
Another option is to mix the touch-up paint with the existing wall paint. This can be tricky, but it’s worth a try if you don’t have an exact match for your texture. Start by adding a small amount of touch-up paint to the wall paint and mix well. If necessary, add more touch-up paint until you’ve achieved the desired consistency.
Step 03: Mixing the Paint
The process of mixing your paint is a crucial step in ensuring a quality touch-up job. To mix the paint, pour a small amount of each color into a plastic container.
Then, use a stir stick to mix the colors together until you have a consistent shade. After that, add an equal amount of thinner to the paint and stir thoroughly until combined.
Step 04: Prepare the Area for Painting
Next, you have to take the time to prep the spray painting area. Remove any dust, dirt, or debris from the area before painting, and cover any nearby surfaces that you don’t want the paint to touch. You can use masking tape and a drop cloth for this.
Then you need to sand or scrape the area that needs to be touched up. This will help the new paint adhere better to the surface.
Step 05: Test the Touch Up Paint
You should always check the touch-up paint on a wall before applying it to the rest of the house. This will give you an idea of how the paint will look and how it will cover up any imperfections. It is also a good idea to test the paint on a wall that is not visible from the street.
This way, if there are any problems with the paint, you can fix them without anyone seeing them. Once you have tested the paint, you can apply it throughout the house.
Step 06: Match the Brush or Roller Technique
When you’re doing touch-up work on paint that was sprayed on, it’s important to match the technique to the original finish. Otherwise, you’ll end up with an obvious patch. If the paint was sprayed on with a brush, use a brush to touch it up. If it was rolled on, use a roller. And, in case the paint was applied with a roller, you can use a sprayer to touch it up.
This may seem like common sense, but it’s surprising how many people don’t do it. And it makes a big difference. When you use the same technique, the touch-up paint will blend in much better and be almost invisible.
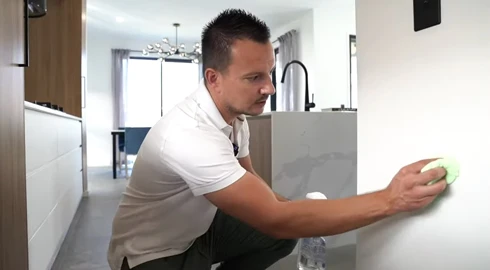
Step 07: Apply the Paint
Now it’s time to get the paint on. Begin by painting the edges of the area first. This can be done with a brush or a roller. If using a brush, use a small amount of paint on the bristles and apply it to the area that needs to be touched up. If using a roller, apply an even layer of paint to the surface. Once the paint has been applied, allow it to dry completely before adding another coat of paint or varnish.
Be sure to work in small sections and go over each area multiple times. This will help ensure that the paint is evenly applied and that there are no visible brush strokes.
Step 08: Check for Coverage
Any home improvement project that involves painting should start with a check for proper coverage. This is especially important when it comes to touch up paint, as uneven coverage can be very noticeable. The best way to check for coverage is to use a sample of the paint you will be using on the project.
Simply apply a thin layer of paint to the area you will be working on and allow it to dry. Once it is dry, take a close look at the area to see if the coverage is even. If it is not, you may need to apply additional coats of paint or choose a different paint altogether.
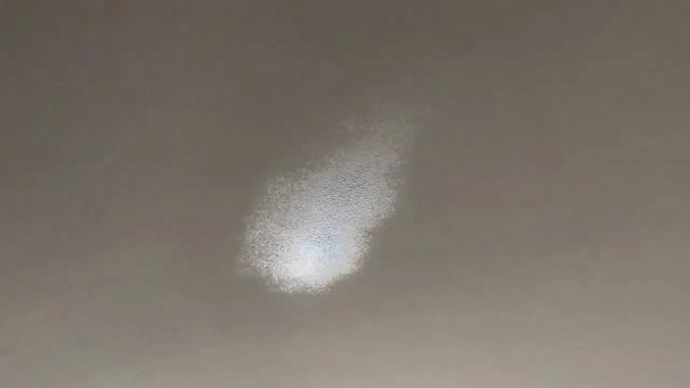
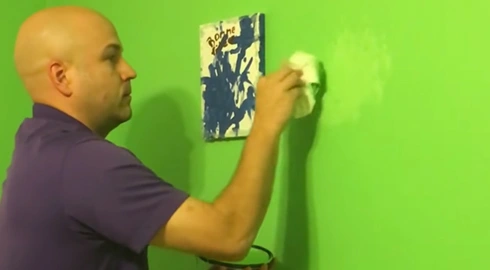
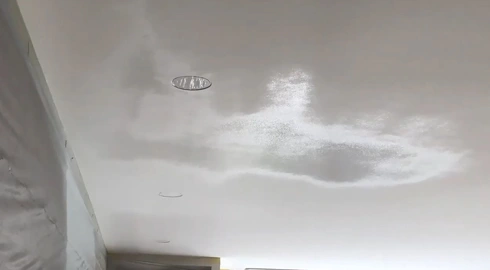
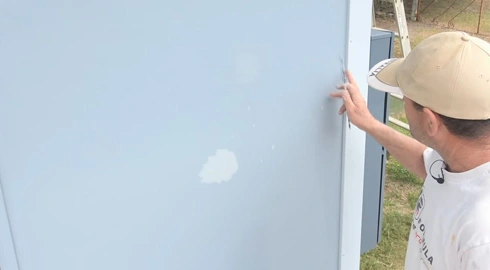
Step 09: Remove any Paint Splatters
After you have applied paint to a wall or other surface, you may notice that the paint has left behind some unwanted splatters. These can be
After you have applied paint to a wall or other surface, you may notice that the paint has left behind some unwanted splatters. These can be unsightly and difficult to remove, but there are a few simple steps that you can take to get rid of them.
First, try using a damp cloth to wipe away the splatters. If this does not work, you can try using vinegar or nail polish remover. Apply either of these substances to a cotton ball and dab at the splatters until they disappear. You may need to repeat this process several times before the splatters are completely gone.
Step 10: Let the Paint Dry
After you have completed the final painting job, it is now time to allow it to dry. You cannot just put the paint away and leave them there forever. The drying process is very important to allow the paint to fully cure and harden.
If you do not dry out your paint properly, it can lead to peeling and flaking. Plus, it will be more susceptible to damage from sunlight and moisture. So, make sure that the painted area dries for at least 24 hours before using the area.
These are the steps you should follow to touch up paint that has been sprayed. Make sure to follow these steps carefully in order to achieve the best results.
Additional Tips for Touching Up Paint
It’s not only important to be careful while you work, but also to be prepared. Here are some additional tips to keep in mind while you’re touching up paint:
i) When storing leftover paint, be sure to label the container with the name of the color, the date, and the type of paint. This will help you identify it later on.
ii) If you are going to be using a different type of paint for the repair job, make sure to use a primer first. The primer makes it easier for the new paint to adhere.
iii) You can always ask the store clerk for a sample if you are in doubt as to which color of paint you should use. It’s a great way to try it out before committing to a big purchase.
iv) Remember that paint can always be touched up later on if needed. So, don’t worry if you don’t get it perfect the first time around. You can always work at it later, just be careful with the process.
v) If you’re not sure what paint to touch up, there are plenty of resources available online or at your local hardware store. Just ask for help and someone will be happy to assist you.
With these tips in mind, you should be able to paint touch up your painting with ease. And, when you’re finished, you’ll have a space that looks new again.
Benefits of Touch Up the Paint That Has Been Sprayed On
When you paint a room, you want it to look its best. But, sometimes accidents happen and paint can get sprayed on other surfaces. There are a few reasons to touch up sprayed-on paint:
No #1: To Protect the Surface
The first reason to touch up paint is for protection. When paint gets onto other surfaces, it can cause damage. As paint can chip or peel off, leaving the surface unprotected. Retouching the paint will help to seal the surface and protect it from further damage.
No #2: To Prevent Rusting
Another reason to retouch the paint is to keep it from rusting. When metal gets sprayed with paint, it can cause the metal to rust. Rust can damage the metal and make it weaker. In this way, you can seal the metal and prevent rusting.
No #3: To Improve the Aesthetic of the Space
When the paint is sprayed on surfaces, it can leave behind streaks or smears. These imperfections can make a room look messy and unfinished. Paint retouching is a great way to create a clean and polished look.
No #4: To Increase the Value of the Property
If you are planning to sell your property, it is important to paint the exterior. First impressions are everything and prospective buyers will notice if the paint is in bad condition. Touching up the paint will make your property look more appealing and increase its value.
No #5: To Save Money
You can save money in the long run by touching up the paint. If you leave the paint as is, it will eventually need to be replaced with new paint. But, if you touch up your paint regularly, you can prolong the life of the paint job and save money.
How to Prevent Paint from Peeling or Flaking?
One of the best ways to touch up paint is to prevent the damage from occurring in the first place. Here are some tips on how you can do that:
- Use a primer before painting.
- Make sure the surface is clean and free of any dirt or debris before painting.
- Apply paint evenly and smoothly.
- Avoid using paint that is too thin or watery.
- Use paint that is appropriate for the surface you are painting.
- Allow the paint to dry completely before adding a second coat.
- Store paint in a cool, dry place.
- Follow the manufacturer’s instructions on how to properly apply and store paint.
By following these tips, you can help to maintain the paint’s appearance. And, if you do have to touch up the paint, it will be a much easier process.
Frequently Asked Questions
There are a few questions that are commonly asked about touch-ups. Here are some of the most frequently asked questions:
1. How Do You Fix Touch Up Paint That Doesn’t Match?
When touch-up paint doesn’t quite match the original clear coat, it can be difficult to fix. This can be avoided by diluting latex or oil-based paint with water by 5 to 10 percent. By doing so, the touch-up will blend seamlessly with the existing paint.
2. How Often Should You Touch Up the Paint?
The paint installed in most homes typically requires touch-ups every five to ten years. This is due to the amount of wear and tear that the paint will experience. Rooms that see a lot of traffic, such as the kitchen, bathroom, and hallway, will need to be touched up more often than other rooms in the house.
3. Can You Paint Over Sprayed Paint?
Yes, you can paint over dried spray paint, but be sure to sand the surface beforehand. Doing so will allow your new paint to adhere properly. Also, make sure that the spray gun or spray can paint is completely dry before painting over it. Otherwise, you may end up with a sticky mess.
4. How Do You Remove Touch Up Paint?
Mineral spirits are a great option for removing dried paint from a touch-up job that didn’t quite go as planned. The solvent effectively thins and removes paint, making it a great choice for car paint or other surfaces.
Related: Is it possible to strip paint from wood with an angle grinder?
Conclusion
Touching up paint is a necessary part of home maintenance. By touching up the paint, you can protect your property from damage and keep it looking its best. With all steps and tips for how to touch up paint that was sprayed on, this task will be a breeze.
Remember, the key to a successful touch-up job is to take your time and be careful. With a little bit of patience, you can achieve professional-looking results. We hope now you can easily touch up any paint job, whether it was sprayed on or not. Thanks for reading.