The answer to this question is most likely due to overheating. When a drill is used for too long or for an intensive task, the internal components can begin to overheat, causing the drill to smoke.
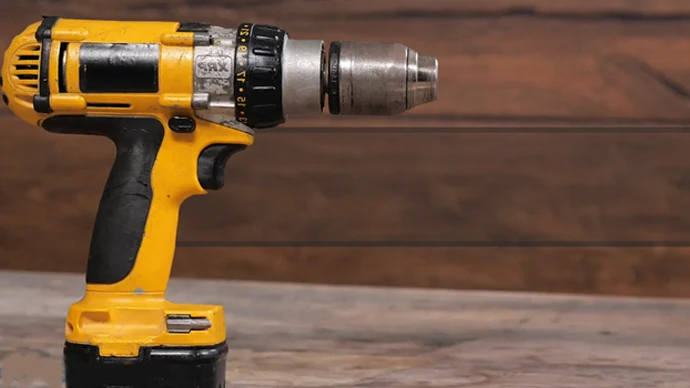
For example, you are working on a project and your cordless drill starts smoking. A smoking cordless drill can mean a lot of damage to both the tool and the project you’re working on. This is a problem that can easily ruin your day.
Cordless drills can cause smoke to appear. You can fix this yourself quickly and easily. Continue reading our guide on, “Why is my cordless drill smoking”, we offer a solution to this problem with an easy-to-use guide that will help you troubleshoot and fix the issue fast.
Why is My Cordless Drill Smoking: Possible Reasons With Solutions
To figure out the reason why your cordless drill is smoking, it is essential that you know the working mechanism of your power tool. We have listed the most common parts responsible for this problem below:
Troubleshooting Your Armatures
Motors are powered by their armatures. A drill’s armature can be damaged by overworking, resulting in the windings being burned out. The armature must be removed to be checked for damage and continuity.
A 180-degree test can be used to detect a bad armature. When you have removed the armature from the unit, place it on a bench. Measuring the resistance of the windings can be done with an ohmmeter attached to both sides of the commutator.
It does not matter what number it reads as it moves around the commutator. If all the windings are good, you should see a consistent reading. A bad armature varies wildly, reading zero or open circuit.
The reading test is another test. Bad armatures are indicated by a zero or open circuit on the ohmmeter. An ohmmeter should be placed on the tip of the shaft of the armature and the other lead on the commutator for the last test.
Solving Your Armature Issue
Removing the cover requires removing the screws that secure it to the case. Once the transmission screws on the side of the drill that connects the cover to the drill have been removed, you can remove the cover. The motor and transmission assembly must be lifted out by removing the hold-downs.
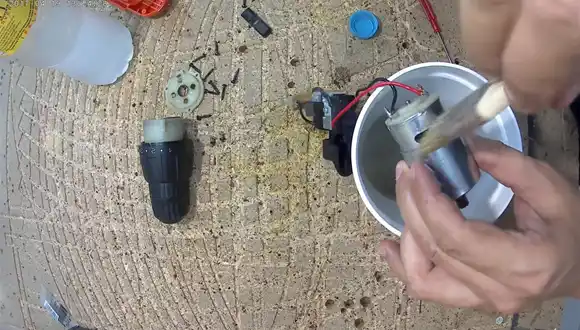
Transmission should be separated from armature and field. Make sure that the armature is free of dirt and debris by taking it out of the field. Test continuity by cleaning with thinner, drying thoroughly, and cleaning with thinner if necessary.
New arms should be installed if the old ones are bad. Assemble the armature and place it in the field. A notch will be found on the field, indicating the transmission’s front. Put it back on the transmission and reattach it.
Reinstall the motor or transmission assembly in the housing after installing one brush on the housing. Reinstall the cover on the housing after installing the second brush into the cover. Attach the end cap and the two transmission screws again.
Troubleshooting Your Battery
Smoke from a cordless drill can also be caused by the battery, specifically when the battery is being charged. The smoke is usually the result of excess heat, which can occur when the battery is defective or when it’s not being properly cooled.
If the battery is smoking then there is internal damage somewhere.
Solving Your Battery Issue
It is not possible to repair batteries. Power drill batteries should be replaced with the ones recommended by the manufacturer.
Troubleshooting Your Carbon Brush
Drills can smoke due to carbon buildup between brushes and commutators. Carbon brushes rotate on the commutator, providing electricity to the armature. It is possible for carbon brushes to spark more as they wear down.
Solving Your Carbon Brush Issue
This can be fixed by replacing the brushes and cleaning the commutator, which will vary slightly between drills. It may be necessary to replace the motor for some cheaper models since they have sealed motors. On the drill, remove the end cap first.
The cover contains one brush. Lift the motor up and remove the other brush holder by removing the screws securing the hold-down brackets. Remove the holder from the case as well. Replacing the brushes with new ones can be done by removing them from the holder.
After removing the drill motor, separate the transmission assembly from the armature. Lightly sand or file the commutator to remove any dust particles. It is now time to reinstall the armature.
The motor and transmission should be reunited and the brush holder should be inserted back into the housing. Reinstall the cover back on the housing and tighten the cover down after the installation of a second brush holder.
Troubleshooting Your Brush Holder
In order to keep the brushes on the commutator in place, holders are used. It is quite possible that if the holders are damaged, the brush may not be able to be held in the proper place and under the correct pressure on the commutator.
It is possible that this can cause excessive sparking, resulting in the tool smoking. The brushes should be checked in both brush holders to see if they have any damage or wear, and if necessary, they should be replaced. There can be a problem if the brush holders do not sit completely in the brush holder or if they are positioned a little out of alignment, which could lead to the problem continuing.
Solving Your Brush Holder Issue
The best thing you can do for them is to clean them thoroughly if they are in good physical condition. In order to remove the holder from the housing, you will need to take off the end cap of the drill. The hold-down brackets on the motor will need to be removed by unscrewing the screws and securing them. Then take out the other brush holder from the motor by lifting it up from the motor.
Make sure that the brush holder is properly seated in the housing once you have reinstalled it by pushing it all the way in. The wire must be reattached and then the motor must be reinstalled and the brackets need to be tightened down as well. Once this has been done, reattach the wire to the second brush holder and reinstall the second brush holder in the cover.
Troubleshooting Your Commutator
One of the most common problems that can cause a cordless drill to smoke is a faulty commutator. The commutator is responsible for transferring electrical current from the battery to the motor, and if it is damaged or not working properly, smoke will begin to emit from the drill as it overheats. When the drill is used for extended periods of time, the commutator can overheat, causing it to emit a small amount of smoke.
Solving Your Commutator Issue
In order to solve the commutator issue, it is necessary to replace the faulty component with a new one. Once the new commutator is in place, it is important to test the drill to make sure that it is working properly before using it again.
Troubleshooting Your Motors
There are four main components of a motor: an armature, commutator, brushes, and a field. Any of these components could fail, resulting in the motor smoking if any of them does not function properly.
Solving Your Motors Issue
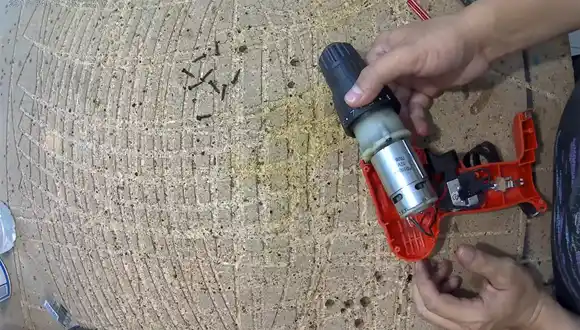
The motor must be removed from the drill in order to diagnose the problem. You can only replace the motor on some cheaper models of drills since they are sealed units.
It is easy to repair the motor of heavy-duty built drills because they can be taken apart. Remove the end cap and the screws from the cover to the housing. Make sure you use the correct transmission motor for your model and replace the one in the transmission.
Troubleshooting Your Switch
If the switch is pushed, it will provide power to the motor so that it can run. A worn switch can short out and produce smoke if it becomes so worn that it shorts out and becomes worn out.
In order to tell if a switch is failing, the drill will not work every time it is pushed, for example, it will not work when the drill button is pressed. With continued use, the condition will eventually get worse to the point that the device may begin to smoke as a result.
Solving Your Switch Issue
You will need to remove the switch from the drill in order to do this. If you find burn marks on the inside of the switch, you should replace the switch. If you see these symptoms, you will know that it has either shorted out or has completely shorted out.
Due to the fact that the switch cannot be repaired, it will have to be replaced. Replace the old switch with a new one in the housing and reconnect the wires to the brushes once you have installed the new switch.
Related: What is the difference between 18v and 14.4v cordless drills?
Why Is My Drill Bit Smoking?
The smoke is rational because of a buildup of dust and debris on the drill bit. When the drill is operated, the high speeds cause the debris to heat up and release tiny amounts of fumes. If you notice that the smoke is accompanied by sparks or flames, then it’s time to stop using the drill and take it for repair.
The smoke is simply wood or concrete dust that has been heated up by the friction of the drill bit. There may be cause for concern if the drill bit starts to produce a burning smell. It is possible that the material being drilled is catching fire. In this case, it’s important to stop drilling immediately and allow the material to cool before continuing.
How Do You Clean a Cordless Drill Motor to Avoid Overheating Smoke?
Cordless motor drills are a versatile and convenient tool for both home improvement projects and simple repairs around the house. But like any other tool, they need to be properly cleaned and maintained in order to function their best. Here is a step-by-step guide on how to clean a cordless motor drill:
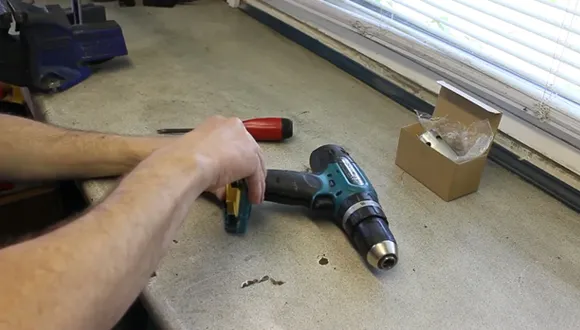
- Remove the battery and unscrew the back panel.
- Use a stiff brush or toothpick to remove any dust that has accumulated inside the drill. Be careful not to damage any of the delicate components.
- Wipe down the outside of the drill with a damp cloth. Avoid getting any water inside the drill.
- Dry the drill thoroughly before screwing the back panel back on and reattaching the battery.
- Store the drill in a dry, safe place when not in use.
By following these simple steps, you can keep your cordless motor drill clean and functioning properly.
FAQs
1. What Does It Mean When a Drill Is Overheating?
Overheating is a major problem that can occur while using a drill. When the drill’s internal temperature gets too high, it can cause the drill to stop working altogether. In some cases, it may even cause the drill to catch fire.
The heat can come from the drill itself or from friction between the drill bit and the workpiece. Either way, the heat can damage the drill bit and the workpiece, and it can also cause the drill to malfunction. If you notice your drill getting hot, stop using it immediately and let it cool down.
2. Why Is My Makita Cordless Drill Smoking?
There are a few possible reasons why your Makita cordless drill might be smoking. The most likely cause is that the drill’s brushes are worn out. This can cause it to overheat and start smoking. Another possibility is that there is something wrong with the drill’s battery. If the battery is damaged or old, it might not be able to provide enough power to the drill.
This may likewise result in the drill smoke when overheats. Makita cordless drills are one of the most popular brands on the market, and for good reason. They are well-made, reliable, and powerful. But like any tool, they can sometimes have problems. One example of an issue that can pop up is smoking.
3. Do Brushless Drill Overheats?
Depending on the model of your drill, a brushless drill can overheat. The answer varies from yes to no because there are many different types of brushless drills available. Some drills have sensors that will automatically shut off the drill when it gets too hot, while others do not.
If you are using a brushless drill that has a sensor, your one might overheat as they rely on sensors and computer chips to control the speed and power of the drill. This can lead to the drill working harder than it needs.
Conclusion
Please let us know if you have already figured out “Why Is My Cordless Drill Smoking?” The cause of this problem can be attributed to several factors which are fairly straightforward to resolve. It is most likely due to a problem with the battery.
If the battery is not properly seated in the charger, it can overheat and cause the drill to smoke. When the battery cells overheat, they can release toxic fumes. Damaged or worn out batteries can also be possible for the drill to malfunction smoke. If you are having trouble charging your battery, or if your drill is smoking frequently, it is best to replace the battery.
Keep an eye on your cordless drill and stop using it if it starts to smoke. If the smoke is coming from the battery pack, it is best to dispose of it immediately in a fire-safe container. These tips will help you get the most out of your cordless drill.