Do you know why drywall is becoming popular worldwide? There are many reasons for the popularity of drywall.
Drywalls are simple to finish, quick to install, and provides you more durability. You will find dry walls easy on your pocket and make it quite simple when you need to repair in an emergency.
They are lighter in weight and cause very few damages to the homeowners in storms and other emergencies.
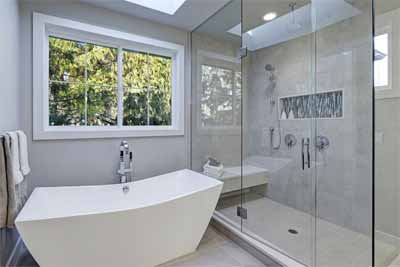
Drywalls are installed where we use water, such as in washrooms, kitchens, and the places where showers are installed.
One of the main reasons that make it popular is simplicity in its finishing; even you can finish the drywall by yourself.
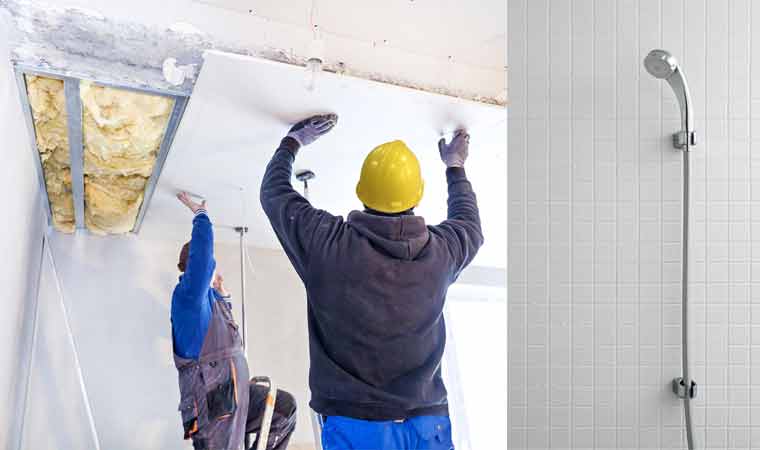
The most crucial area that needs installation of drywall is the shower and its surroundings.
You can learn how to finish drywall around a shower in our below article; we will guide you with reliable information.
What is drywall?
Drywall means the wall that constructs without the use of materials that used in typical walls such as plaster or the mortar. Another name used for drywall is wallboard.
What are kinds of Drywalls?
When we researched, we have found seven different kinds of drywalls that are used in various places in the buildings.
These seven kinds are regular drywall, Blue board, and Green board, paperless, type X, purple and soundproof drywall.
What are the Features of drywall for shower surroundings?
When you are installing drywall around the shower, then prefer a cement board drywall.
Drywall that can work well with wet areas such as around the tubs and showers, it will perform well with your battery.
When you take a cement board drywall there, you will need dry support behind the wall; this will make it durable and resistant against the water.
You Might be Interested: Recommended Corner Bead For Drywall Use
How to finish drywall around a shower?
A better way to complete any job is to divide into steps and complete the whole work step by step.
When you are installing drywall around a shower, then try work as following simple steps that we will provide you in below content.
Step by step to finish drywall around a shower:
Step 1:
When you have chosen good quality drywall for your shower surrounding now come towards its installation, first of all, prepare the surface where you are going to install the drywall.
Make the things clear and make joints that will help to stand the drywall smoothly with the ceilings.
Step 2:
Take a knife and cut the band on the top of the bucket. Now mix the water and the material entirely by blending it.
Once you have ensured that all the compound and water is mixed correctly and you get a better solution, then your material is ready for work.
Now check the drywall if there are some rough places, stains, dirt or torn pieces of paper remove them with a soft cloth.
Step 3:
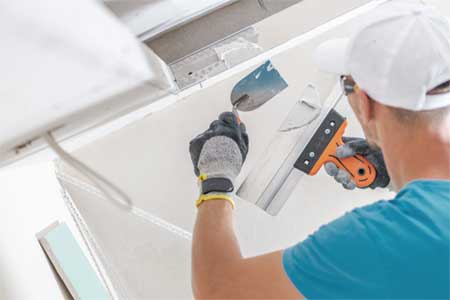
After that take a knife, it would be helpful if you take a five inches knife. Now pour the compound in the mud box until it becomes full of mixture.
Now dip your knife in prepared material, with the help of knife fill all portions in joints with the compound. If you keep the knife in the twenty-five-degree angle, it will help you to complete fast.
Make it sure all the holes of joints and screwheads correctly filled, now clean your knife with a soft cloth.
Step 4:
Now you need to apply the paper tape but be careful only unroll the required length of tape and do not tear it off. Now gently apply the tape on the compound with fingers and a soft cloth.
Make it sure there are no bends in the paper tape and surface is smooth. When you complete the entire surface now tore the tape from its roll.
Check all the joints and screwheads portions that there is no missing or bends in the sheet.
Do not overwhelm the compound around your shower; otherwise bends will make problems for adjustments of showers and you face water leakages.
Step 5:
Now check all the corners around the surface portions of your shower, if there is any missing area covers it with tape.
If you found tape is loosely layered, especially the nearby of the shower area, you can use more compound but avoid more quantity of compound. Just take the required amount of compound that gives better fixing to tape.
When you make sure the area around your shower covers, and there is no inappropriate or missing area than cut the tape with a knife.
Now press the tape with your palm and finger to make it smooth. Once you have checked all corners and sides of the shower, then go for the next step.
Step 6:
When the compound becomes dry, now take sand and sand all the corners and all the surfaces. Do not be in a hurry to ensure a smooth layer of sand over the compound surface.
Check all the areas appropriately, especially the shower nearby areas, if there is a rough area found sand it gently.
Leave the first coat of sand a minimum of half an hour and check the sand. Now apply the second coat of sand on the surface but very carefully. Keep it in mind there should be no rough places in the wall.
After the proper second coat, wait for some time and give a third coat of sand to your drywall.
Now let it dry for one day, and on the next day, this wall is ready for work. Clean all the surface of the wall; you will find smooth and rigid drywall for your shower area.
Final Thoughts:
Drywall is becoming popular due to their excellent features and good performance in wet areas such as around shower and tub.
One thing that makes them popular is their simple finishing. You have gone through our article how to finish drywall around a shower where simple finishing steps provided for your help.