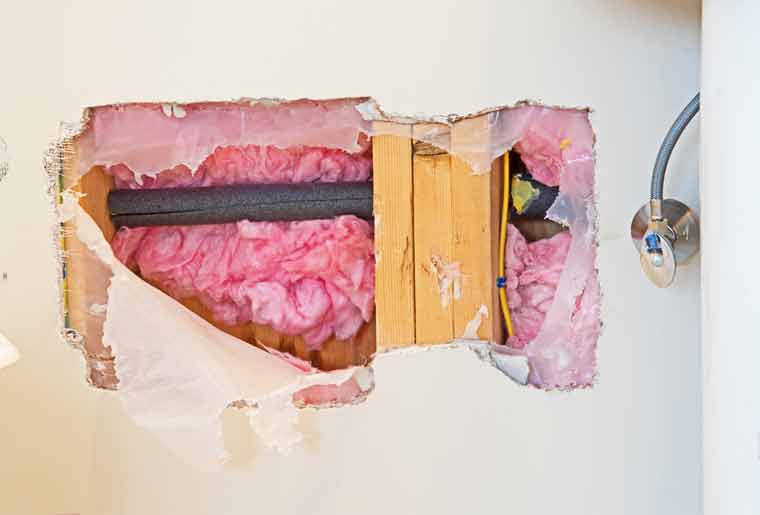
Do you have a hole in your home foundation that caused due to weather effects or some other accidents?
Hole in the foundation has many risks, especially when it is of considerable size; it looks dirty and also risky for theft.
You may also face some accidents due to a big hole in the foundation. So, it is essential to repair the large hole in the foundation to keep us protective and for the better look of our house.
Most of the people take professional services for repairing the hole, but we have guidelines for you to fix your home foundation large hole yourself.
How I repair a large hole in the foundation?
Before going for repairing, first of all, you should check the hole properly by all means and take the measurement and how much risk is to work with it.
Arrange Tools for repairing:
When you have properly checked the hole, then arrange the necessary tools that will help to complete your job professionally.
You should arrange putty knife, screwdriver, wire brush, a spray bottle filled with water, vacuum, hydraulic cement, rubber gloves, hammer trowel, dust glass, safety glasses, and clean mixing container.
Steps to repair large hole in foundation:

After arranging tools, follow below simple steps to correct the gap like a professional mason.
Step One:
Your safety is the first preference for any task, so wear the dusty mask and safety glasses before repairing the hole.
You will see that there will be more dust and debris while repairing the hole; most of the foundations are made by concrete that releases plenty of dust.
While breaking some areas for smooth repairing there may also chance to hurt your face, especially your eyes from small fragments, so wear safety glasses.
To keep your hands safe from any damage wearing plastic or rubber gloves is also a better idea.
If you are working indoor areas, it is also necessary you should keep the room ventilated, because dust can cause breathing problems, so arrange fans or keep the site open is better.
Step Two:
Now prepare the hole for repairing, take a hammer and chisel and remove all the loose fragments of concrete from the hole.
Make it sure that you have removed all the fragments, and the bottom area is appropriately cleaned and flatten.
More you will be smooth and flatten; more will be your job easy to complete the task quickly and easily.
Keep the foundation hole minimum 1 inch thicker, if it is already thicker then; do not make it thicker.
Now, clear dust and debris from the foundation hole with a vacuum. If you do not have a vacuum then, you can also use a brush to clear and clean the surface and repairing areas of the hole.
If you want more clearance or feel there are some hurdles are remaining and cannot remove, then take a commercial concrete cleaner and pour it in the hole to make clean and flush.
Now wash the hole with water and let it dry for an hour but if you are hurry then wait for a minimum of 30 minutes.
If you have a hole more than one inch then sprays the hole to remove all dust and debris.
Once you make sure that all surface and around areas of the foundation hole are fully prepared for repair, then move to the next step.
Step Three:
Now prepare the material for the repairing of foundation hole, but keep in mind that never take concrete for the repairing work, new concrete will not give proper bonding with old concrete.
So, if your foundation hole is up to one inch deeper than take mortar mix with the sand, and if your foundation hole is deeper than one inch then buy a mixture with gravel to repair the hole.
But if you are not purchasing it from the store and preparing the mixture yourself, then mix up one part cement with three parts of gravel or sand and mix them with water.
Now wear your gloves and put the bonding material on the surface of the hole and lay it correctly on the whole surface for proper bonding.
Step Four:
Now take a bucket, and pour the mortar mix in that bucket and add water in it mix it well in the water.
Do not pour water one time it is better to add a little amount of water mix it and add more water if required.
While you pour the mortar mix in the bucket and water, there will release dust and debris so make it sure that you have worn all the safety equipment such as glasses, mask and gloves.
While you have added the required amount of water in the mixture, shake it well and keep it going for three to five minutes to prepare a well-mixed mortar mixture.
Step Five:
If your foundation has a small hole, you can pour and spread the mixture on the foundation hole with the help of a putty knife.
But while you are pouring and spreading the mixture first pour it on the corner and deep areas and adjust the mixture with a knife tip.
Once sides and around areas filled adequately with mortar, pour the mixture in the middle surface.
Take a balanced quantity of mixture do not add too much; you can remove the excessive quantity when the mixture is wet.
It is better to fill the patches one by one after drying, but you can also do continuous repairing.
Step Six:
Once you have placed the mortar mix and fill it, make it smooth. You can make it smooth and remove the excessive mixture with the help of a straight board.
Take a board and drag it with its sides to remove the excess mortar mixture. After removing the excess mortar, you will get a better and balanced level with the old concrete level.
If you found some extra mortar, then take a float and remove the other excessive mortar to make all surface smooth and good looking.
Before finishing the task check the patches from all sides to make it sure that level is proper and there is no unbalancing found with old concrete level.
Step Seven:
Cover the patches with a plastic sheet to keep them protected from damages.
You can also use concrete insulation barrier to make it protective from damages. Do not allow anyone to touch or put pressure on it until it is properly dry.
It is better to keep it protected for one day for drying, but if you are in a hurry, then, make it dry for a minimum of six hours.
When it becomes hard to remove the protective material and spray it with water, this water will make it harder. Now clean the surface with a cloth.
If you want a stronger bonding, then continue misting the foundation hole for seven to ten days.
You have professionally done your entire job yourself without spending money on services.
Final Thoughts:
Hole in the foundation can due to accidents or weather effects, but once you have a hole in the foundation, repair it immediately to keep you protected from the risks.
It is not a challenging task; you can do that by yourself if you follow the above simple steps.