DIY projects such as painting a room can be extremely gratifying. A fresh coat of paint can completely transform the look and feel of a space, and it’s relatively inexpensive and easy to do. One of the toughest parts of painting is avoiding the paint from getting on the ceiling.
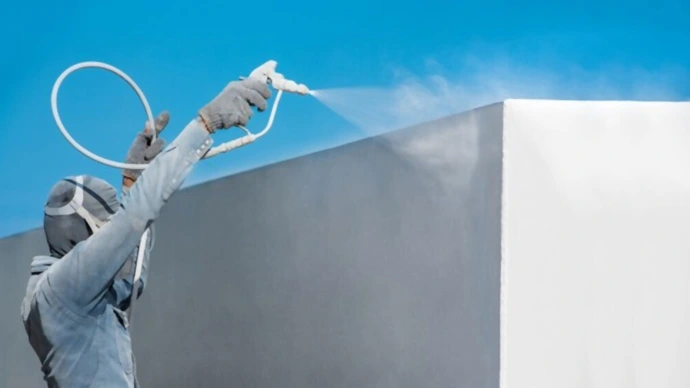
Spraying a wall without hitting the ceiling can be hard. But with a little bit of practice and some patience, you can understand how to spray walls without hitting ceiling fairly & efficiently.
When you’re standing close to the wall and spraying paint, it’s too easy to hit the ceiling and create a big mess accidentally. You can minimize this problem by following a few simple steps. Read on for more information on how you can prevent this situation.
Step by Step Guide on How to Spray Walls Without Hitting Ceiling
Every painter has experienced the frustration of accidentally spraying paint on the ceiling while trying to paint the walls. This can be annoying and time-consuming to clean up.
However, there are a few simple tips that can help you avoid this problem:
Step 01. Prepare All Accessories:
Whether you’re painting a new room or giving your old one a fresh coat, there are a few things you’ll need to do before you start painting. Most importantly, you’ll need to gather your supplies. For this project, you’ll need:
- Safety gears (Respiratory Mask, Safety Glasses, Gloves)
- Newspapers or plastic tarp
- Painters tape and Masking tape
- Handheld spray
- Preferable paint
- Drop cloths
- A bucket for mixing paint
- A ladder (optional)
After you have collected all your supplies, you can now start your project.
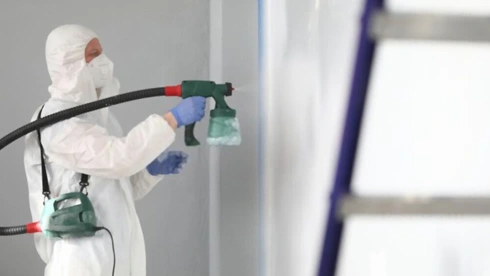
Step 02. Wear Your Safety Equipment:
Before you start spraying, it’s essential to ensure that you’re wearing the proper safety equipment. This includes eye protection, a dust mask, and gloves. If you’re spraying anything inside, you’ll need to wear a respirator to protect your lungs from the fumes.
You should also wear eye protection so that no paint gets into your eyes. Finally, you’ll want to make sure you’re wearing old clothes that you don’t mind getting dirty or ruined. Once you’re all geared up, it’s time to get painting.
Step 03. Prepare Your Workspace:
Take a moment to clear away any furniture or other items from the room you’ll be painting. You don’t want anything getting in the way while you’re working.
Then you should turn the power off in the room. Lights and meters should be removed or covered with newspaper and masking tape. Cover all electrical outlets.
Step 04. Cover the Floor and Corners of Windows:
Whenever you start spraying your walls, it’s essential to take the time to cover the floor along with the corners of the windows. This will help protect your surfaces from overspray and ensure that you get even coverage.
Simply cover any areas that you don’t want to paint with newspapers or a plastic tarp. Once you have everything covered, you can start preparing your walls.
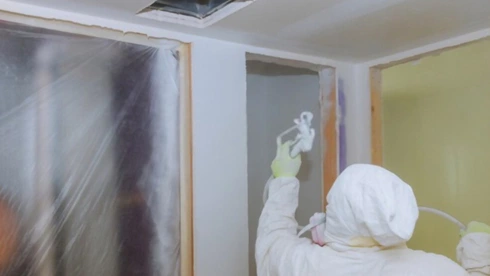
Step 05. Apply a Masking Tape:
Applying masking tape is among the most critical steps to spraying walls without hitting the ceiling. By doing this, you will be able to create a sharp line between the interior wall and the ceiling, which will make it much easier to avoid overspray.
It will also help protect your window and flooring from potential paint damage. To apply masking tape, unroll a length of tape and press it firmly against the edge of the wall. Then, use a utility knife to cut along the edge of the tape. Once you’ve applied masking tape, you’re ready to start painting.
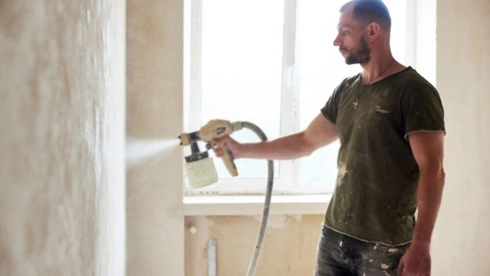
Step 06: Begin Spraying Your Walls:
Start spraying your interior walls in the top corner of the room and work your way down. Begin by painting the trim around the windows and doors first. Then, paint the larger areas of wall space.
Position your paint sprayer at least 12 inches away from the wall and use smooth, even strokes to apply the paint. Immediately after painting, remove the tape and touch up any areas that have been missed.
Step 07: Leave the Wall to Dries:
Let the paint dry for at least 24 hours before putting anything back in the room when you’re finished. This will give the paint plenty of time to set and dry properly.
These are some simple steps to follow when you’re painting a room. By taking the time to mask off the areas not to be painted and using even strokes, you can avoid overspray and get a professional-looking finish.
Best Way to Remove Masking Tape
Removing painter’s tape can be a tricky business after painting your walls. If you’ve ever tried to remove a strip of tape on your wall for hours, you know how frustrating it can be to get the adhesive off without taking some paint with it.
But there are a few tricks you can use to do the job a little easier:
- Try heating the tape with a hairdryer or heat gun. This will help to loosen the adhesive and make it easier to peel away.
- You can also try using a putty knife or razor blade to scrape away the tape gently.
- If you’re still having trouble, you can always apply a little adhesive or nail polish remover to the area to help break down the adhesive.
With a little patience, you should be able to get that masking tape off without too much trouble.
Tips for Applying Spray Paint Evenly to Walls
Spray paint is a great way to get even coverage on a wall, but it can be tricky to apply evenly. Here are a few tips to help you get the best results:
- Use a light touch when triggering the spray gun. Too much pressure will result in an uneven coat.
- Start by spraying the paint onto a piece of cardboard or paper before applying it to the wall. By doing this, you get a feel for the amount of paint being released and prevent you from overdoing it.
- Hold the airless spray gun about 12 – 14 inches away from the surface as you spray. An even coat will be easier to achieve this way.
- Move your arm in a consistent back-and-forth motion as you spray. This will help to minimize any streaks or lines.
- Apply several thin coats of paint rather than one thick coat. It is a good way to avoid any drips or runs.
- Invest in premium paint. Cheap paint is more likely to produce an uneven finish.
- Don’t spray too thick, as it will drip. Also, this can cause the paint to break and run.
- Don’t try to fix them while the paint is still wet if you do get runs. Wait until it’s dry, and then sand the area down before reapplying paint.
- Check the nozzle of your spray gun before each use. Clogged nozzles result in an uneven finish.
Spray paint can be applied evenly, and you can achieve a professional appearance with just a little practice.
Things to Consider When Choosing Spray Painting for Wall
When it comes to painting, there are a lot of different methods to choose from. Depending on the project you’re working on, one approach might be better suited than another. But painting on walls with a painting spray gun can offer some distinct advantages:
- It’s a fast way to cover large areas.
- It can provide even coverage that’s hard to achieve with a paintbrush.
- It’s less likely to produce drips or runs.
Of course, there are also some things to consider before choosing spray painting as your method of choice:
01. Type of Paint:
When spray painting a wall, it is important to consider the type of paint. There are two main types of paint: water-based and oil-based.
Water-based paint is more versatile and easier to use, but it doesn’t provide the same level of coverage as oil-based paint. Oil-based paint is more durable and offers better coverage, but it can be more challenging.
02. Size of the Area:
Generally speaking, the larger the area, the more paint you will need. If you are only painting a small area, you may be able to get away with using less paint.
However, if you are painting an entire wall or a large section of the wall, you will need to use more paint.
03. Quantity of Paint:
If you are going to spray paint your walls, one of the things you need to take into account is the paint quantity. This will depend on the size of your wall and the coverage you need.
Measure your wall before buying the paint, and know how much you need. Also, consider the thickness of the paint. If you want a thicker coat, you must buy more paint.
04. Surface You Want to Paint:
The surface you will be painting is another important consideration when choosing a type of spray paint. Different surfaces require different types of paint and preparation.
For example, Wood walls need a sealer before painting, while Metal should be sanded. Surface roughness will also affect the quantity of paint required. A smooth surface will require less paint than a rough one.
Related: What causes spray paint to bubble?
05. Environment:
When choosing spray paint for walls, an important consideration is an environment. Paints come in a variety of VOC (Volatile Organic Compound) levels, and VOCs can be harmful to both the environment and your health. If you’re looking for a more eco-friendly option, choose a paint with a low VOC level.
Some primers contain hazardous chemicals that can off-gas into the air, so it’s crucial to choose a primer that is low-VOC and non-toxic. Also, make sure you ventilate the area well when spraying paint, as inhaling paint fumes can harm your health.
06. Glossiness:
Glossy paint will create a smooth and shiny surface. Depending on your project, this may not be the desired look. For example, if you paint a wall in a high-traffic area, glossy paint will show fingerprints and smudges more easily.
On the other hand, glistening paint can be perfect for accent walls or other areas where you want to create a bold look. If you decide high-gloss paint is the right choice for your project, use a high-quality primer and paint for the best results.
07. Quality of Painting:
Quality should be the most prior consideration for spraying your walls. A top-of-the-line paint job will last longer and be more resistant to wear and tear, making it a worthy investment for your home. When considering the quality of a paint job, pay close attention to how the paint is applied.
By considering these factors, you can be confident that the spray paint you choose will not only enhance the beauty of your home but will also last for a long time.
FAQs
The following are some of the frequently asked questions regarding spray painting walls:
Q. Do You Spray Walls or Ceilings First?
It is recommended to spray the walls first and then the ceilings. This prevents any paint from dripping onto the walls and ruining the paint job.
Q: Is it Better to Spray or Roll Paint On Walls?
Spraying is generally faster and produces a smoother finish, but it can be difficult to avoid creating a mess. On the other hand, rolling takes a bit longer but is much easier to control. If you’re short on time or working in a large area, spraying might be best.
Q: Do Professional Painters Use Sprayers?
Spraying paint is a fast and efficient way to apply an even coat of paint to a surface. That is why professional painters often use paint sprayers. Also, paint sprayers can be used for different paint projects, such as painting cabinets, furniture, or walls.
Q: Does Spraying Use More Paint Than Rolling?
The short answer is “yes.” A sprayer uses approximately 33 percent more excess paint than a paint roller. But obviously, there are so many advantages to spraying, such as time saved, less mess, no brush marks, etc.
Conclusion
It is critical to avoid hitting the ceiling when spraying walls. It is possible to accomplish a neat and clean job by knowing how to spray walls without hitting ceiling and by following the correct steps and using the right equipment.
By considering various factors, you can ensure you pick the best spray paint for your home that will last as long as possible.
Whether you’re a professional painter or a DIY enthusiast, using a sprayer is the best way to get a high-quality paint job on your walls quickly and easily.
Try to use masking tape, plastic tarp, and drop cloths to avoid making a mess, and be sure to ventilate the area well to avoid inhaling paint fumes.